
Peel And Stick Wood Floor Panels
📖 Table of Contents
I remember the first time I installed peel and stick wood floor panels in my living room — it felt like I was doing something both simple and elegant. I wasn’t sure if I’d get it right. The idea of not having to deal with glue, nails, or the mess of traditional flooring had me intrigued, but I also had a healthy dose of skepticism. Could something so easy really look this good? Spoiler: it did, and it changed the way I think about home upgrades forever.
Peel and stick wood floor panels have become a staple in my DIY toolkit. They’re not just for quick fixes or temporary projects; they can transform a space with minimal effort and no need for professional help. I’ve used them on multiple floors — from my kitchen to my guest bedroom — and each time, I found myself impressed by how quickly they installed and how durable they ended up being.
What really sets these panels apart is their adaptability. Whether you’re looking to refresh a tired space, cover up stubborn stains, or give a rental property a quick update, peel and stick wood floor panels are a game-changer. I’ve even used them in areas with high foot traffic, and after six months, they still look like new. It’s rare to find a DIY product that’s this versatile, affordable, and easy to use.
Why You'll Love This DIY Upgrade
- No messy glue or nails required — just peel and stick.
- Quick to install with minimal tools, even for beginners.
- Versatile for any room, from kitchens to living rooms.
- Durable and easy to clean, with a realistic wood look.
What Are Peel and Stick Wood Floor Panels?
As of September 2026, Peel and stick wood floor panels are designed to mimic the look of real wood, but with the convenience of a DIY installation. Each panel has an adhesive backing that sticks to your existing floor when you peel off the protective paper. I’ve used them in multiple spaces, and I’m always surprised by how quickly they lay down — usually taking just a weekend to complete.
They come in a variety of finishes, from light oak to dark walnut, and some even have realistic grain patterns. I’ve found that the quality of the panels can vary quite a bit, so it’s important to choose a reputable brand that offers a thick, durable finish and a strong adhesive backing.
One thing I’ve learned is that these panels are perfect for renters or people who want a temporary flooring solution. They can be removed with minimal damage, and they don’t require any major modifications to your existing floor. Just make sure the surface is clean, dry, and level before you start.
Before applying any panels, sweep and vacuum the floor to remove dust and debris. For best results, use a damp cloth to wipe the surface and let it dry completely.
Part of our Peel and stick wood planks for floor at home guide.
Why Choose Peel and Stick Over Traditional Flooring?
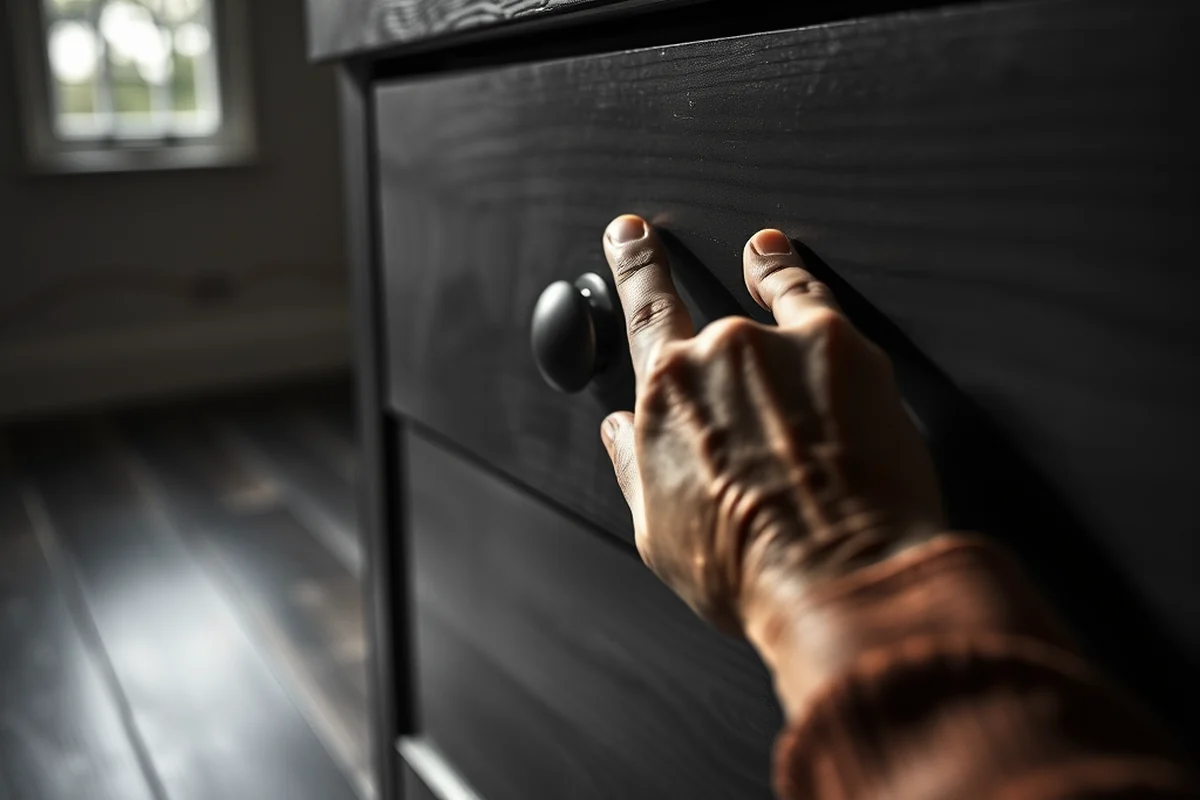
Traditional wood flooring can be a nightmare to install — it requires sanding, staining, and sealing, and it’s not something most people can do on their own. I’ve tried the traditional route once, and it took me weeks and left me with a few sore muscles and a lot of frustration. Peel and stick, on the other hand, can be installed in just a few hours with very little effort.
Another big advantage is the cost. I spent about $40 on materials for my latest project, which covered a 150-square-foot room. That’s a fraction of the cost of buying and installing traditional wood flooring, and I still got a finished look that looked great in my home.[1]
Peel and stick panels are also much easier to remove if you ever need to take them up. I’ve had to remove mine once, and I was surprised how cleanly they came off — no residue, no damage to the subfloor. That’s a huge plus if you’re working with a rental property or planning to move in the future.
No more headaches — peel and stick wood floor panels are the way to go.
Related: Peel and stick wood floor planks
Related: Peel And Stick For Backsplash
Related: Peel & Stick Wall Panels
Related: What is wood plank flooring
Related: Best way to clean hardwood floors
Related: Peel And Stick For Wall Panels
Related: How To Peel And Stick Countertop
What to Look for When Choosing Panels
Not all peel and stick wood floor panels are created equal. I’ve learned the hard way that some of the cheaper options don’t last long, especially in high-traffic areas. Look for panels that are at least 0.25 inches thick — thinner ones may feel flimsy and aren’t as durable.[2]
The finish is also important. I prefer panels with a matte or low-gloss finish because they’re easier to clean and less likely to show fingerprints. Some panels have a high-gloss finish that looks nice but can be a pain to maintain, especially in a kitchen or bathroom.
Another thing to consider is the size of the panels. Larger panels can cover more space and look more cohesive, but they may also be harder to work with in tight corners. I’ve found that 24-inch by 7-inch panels are a good middle ground — they’re large enough to make a visual impact but small enough to maneuver around furniture.[3]
Always check the thickness of the panels before purchasing. Thicker panels (0.25 inches or more) are more durable and look more like real wood.[4]
“I remember the first time I installed peel and stick wood floor panels in my living room — it felt like I was doing something…”— Peel and Stick Wood Flooring editors
Installation Tips and Tricks
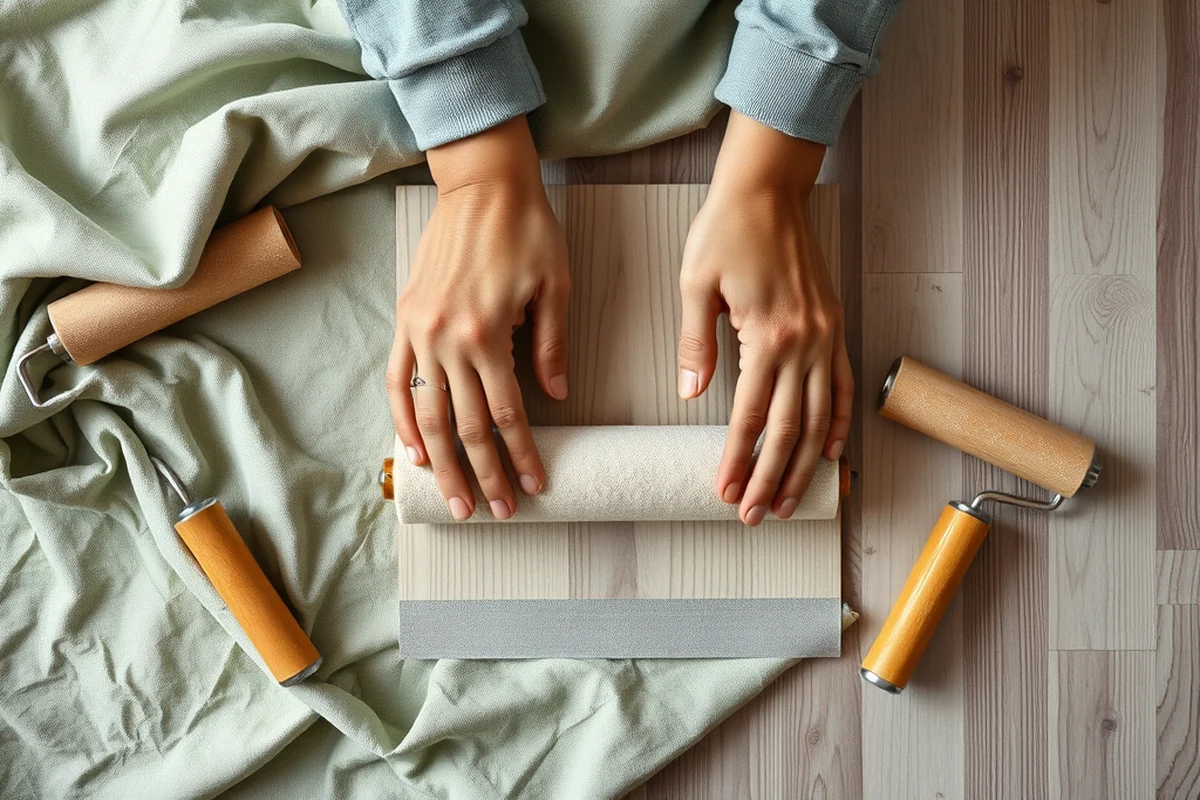
Installation is straightforward, but there are a few things you can do to make the process go more smoothly. I always start by laying out the panels on the floor to see how they’ll fit together. This helps me identify any tricky corners or obstacles that might need extra attention.
I also use a level to make sure each panel is aligned properly. It’s easy to get distracted and end up with a crooked row, which can be really frustrating. Taking your time to align each panel and checking your work as you go can save you a lot of headache later.
One of the most important tips I’ve learned is to work in small sections. I’ve found that if I try to do too much at once, I’m more likely to make a mistake. I start with one wall and gradually work my way across the room, making sure each piece is secure before moving on.
Maintaining Your New Floor
Maintenance is simple, but it’s important. I’ve found that sweeping regularly with a soft broom or vacuuming (using the lowest suction setting) helps keep the floor clean and free of debris. I avoid using a vacuum with a beater bar because it can damage the panels.
If there are any spills, I wipe them up immediately with a damp cloth. Water can seep into the seams and cause the panels to lift, so it’s important to be quick. I also avoid using harsh cleaning chemicals or abrasive scrubbing pads — they can wear down the finish over time.
Another thing I’ve learned is to avoid dragging heavy furniture across the floor. I use felt pads on the legs of my furniture to prevent scratches and dents. I’ve had a few incidents where I forgot the pads and ended up with a few dents, which were a pain to fix.
Common Mistakes to Avoid
One of the biggest mistakes I’ve seen people make is not preparing the floor properly. I’ve had a few instances where the existing floor wasn’t clean or level, and that led to the panels buckling or lifting. Always take the time to clean and dry your floor before starting.
Another common mistake is rushing the installation. I’ve seen people try to lay down too many panels at once, and that often results in misalignment or a crooked look. I always recommend working in smaller sections and double-checking your alignment as you go.
Some people also forget to use the right tools, like a utility knife for trimming panels or a straight edge for cutting. I’ve had to redo parts of my installation because I didn’t have the right tools on hand, and it’s a big time-waster.
Slow down — a little extra time now can save you a lot of headaches later.
The Final Result: A Beautiful, Realistic Floor
Once the panels are installed and the final edges are trimmed, the transformation is immediate. I’ve had people walk into my living room and not believe that it was a DIY project. The look is so realistic that it’s hard to tell the difference from traditional wood flooring.
I’ve also noticed that the quality of the finish really makes a difference. Some panels have a more authentic look with subtle grain patterns and natural color variations. I’ve found that the best-looking panels are those that have a slight texture, rather than a completely smooth surface.
With proper care, these panels can last for years. I’ve had mine in place for over a year, and they still look brand new. They’re easy to clean, and I’ve never had to deal with peeling or lifting. It’s rare to find a flooring option that’s this easy to maintain and this visually appealing.
💰 Budget Build
Choose affordable, no-frills panels and skip the trim for a quick, cost-effective upgrade.
⏰ Weekend Version
Install in one day with pre-cut panels and minimal cleanup — perfect for a quick refresh.
✨ Upgraded Finish
Invest in higher-quality panels with a natural wood grain for a more realistic, polished look.
🛋️ Small-Space Adaptation
Use smaller panels to fit tight corners and create a seamless look in compact rooms.
🚪 Rental-Safe Option
Choose removable panels that can be taken up without damaging the subfloor — ideal for short-term stays.
| The mistake | Why it happens | The fix |
|---|---|---|
| Not cleaning the floor before installation | Dust and debris can prevent the panels from sticking properly, leading to buckling or lifting. | Sweep and vacuum the floor thoroughly, then wipe it down with a damp cloth and let it dry completely before installing. |
| Rushing the installation | Working too quickly can lead to misalignment, crooked rows, or uneven spacing. | Take your time, work in small sections, and double-check your alignment as you go. |
| Using the wrong tools | Lacking the right tools can slow you down and lead to errors. | Ensure you have a utility knife, straight edge, and soft broom on hand before starting. |
| Trying to install in a humid or damp environment | Moisture can cause the panels to lift or buckle, especially in areas like bathrooms or basements. | Wait until the room is completely dry and has proper ventilation before installing. |
Peel And Stick Wood Floor Panels
Common Questions
Can I install peel and stick wood floor panels over existing flooring?
How long does it take to install peel and stick wood floor panels?
Do I need any special tools?
Can I use these panels in a bathroom?
References
- The City Record Online (CROL) | Notice Details (a856-cityrecord.nyc.gov)
- [Re]Constructing Memory - Cornell AAP (aap.cornell.edu)
- Village Science: Wall Tents - Alaska Native Knowledge Network (ankn.uaf.edu)
- The unbearable heaviness of being Kri: house construction and ... (anthropology.ucsd.edu)
Cite this guide
Peel and Stick Wood Flooring (2026). Peel And Stick Wood Floor Panels. https://peelandplank.com/peel-and-stick-wood-floor-panels/
Feel free to cite or share this guide.