
Peel And Stick Wood Grain Vinyl Flooring Mistakes
📖 Table of Contents
Peel and stick wood grain vinyl flooring is a popular DIY solution for its ease of installation and realistic appearance, but it's not without its pitfalls. Many homeowners fall into common mistakes during the process, which can lead to peeling, buckling, or an overall unsatisfactory finish. Understanding these errors can help you avoid costly repairs and ensure a long-lasting, beautiful floor.
One of the most frequent mistakes is improper surface preparation, which can cause the flooring to lift or separate from the subfloor. Another common issue is ignoring the specific requirements for different rooms, such as kitchens, where humidity and moisture levels can affect the adhesive’s performance. These missteps are avoidable with the right knowledge and preparation.
This guide serves as a comprehensive hub for anyone looking to install peel and stick wood grain vinyl flooring. It will cover everything from the initial installation process to troubleshooting common problems in different spaces. By addressing these issues upfront, you can save time, money, and frustration down the line.
Key Takeaways
- Proper surface preparation is critical to avoid adhesion failures and long-term durability issues.
- Ignoring room-specific conditions, such as humidity in kitchens, can lead to premature failure of the flooring.
- Choosing the right type of vinyl flooring for the intended space can significantly impact the outcome.
- Following manufacturer guidelines and allowing proper drying times can prevent common mistakes during installation.
Installing Peel
As of September 2026, the first step in installing peel and stick wood grain vinyl flooring is ensuring the subfloor is in ideal condition. This means it should be flat, dry, and free of any dust, dirt, or moisture. A subfloor with moisture content above 3% can lead to warping or delamination over time. If the subfloor is not level, it can cause the flooring to buckle or create visible seams.[1]
Many installers skip the step of using a floor leveling compound, which can result in uneven surfaces and poor adhesion. The recommended method is to use a self-leveling compound if there are any dips or high spots larger than 1/8 of an inch. This ensures the vinyl flooring lies flat and adheres properly to the surface. Some manufacturers even specify that the subfloor must be sealed if it’s made of porous materials like concrete or particleboard.[2]
Another key consideration is the room’s temperature and humidity levels. Vinyl flooring can be sensitive to extreme temperatures or humidity, which can cause it to expand or contract. It’s best to install the flooring when the ambient temperature is between 60°F and 80°F and the relative humidity is between 35% and 65%. If these conditions are not met, the flooring may not adhere properly or may begin to lift after a few weeks.[3]
Flooring Not
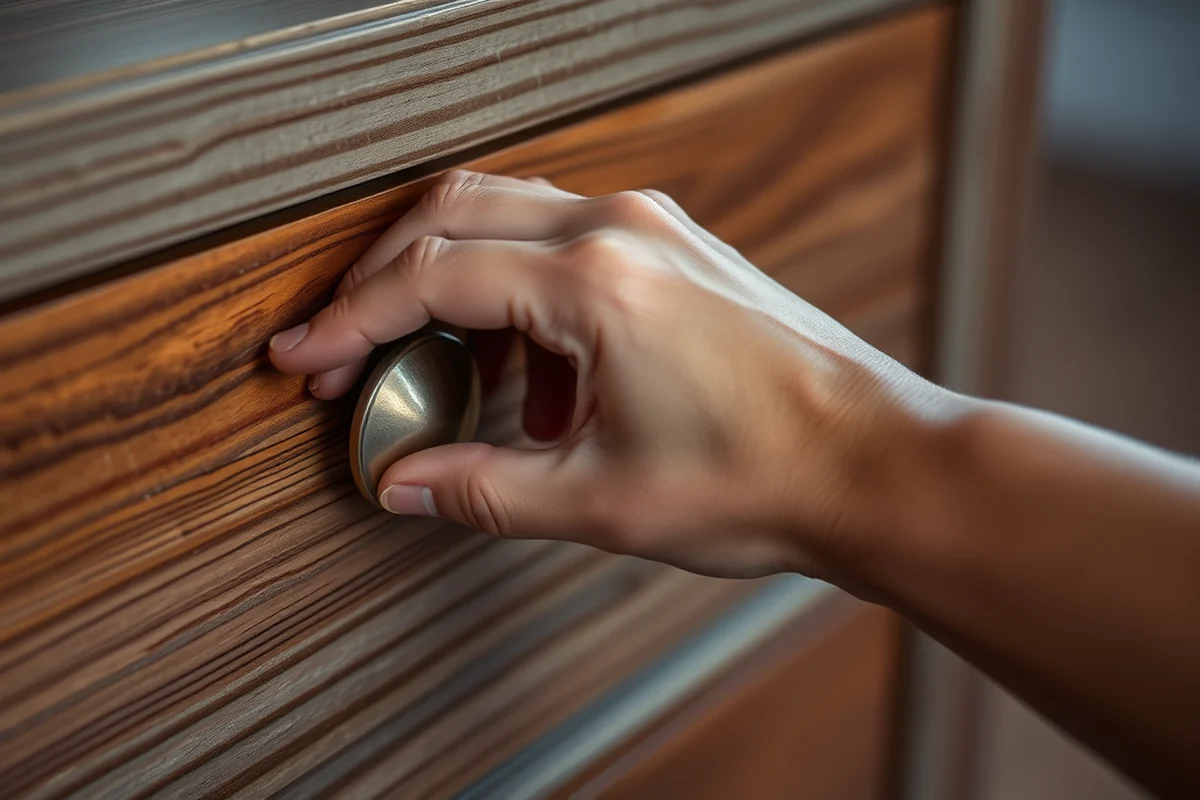
One of the most common reasons peel and stick vinyl flooring fails is due to inadequate adhesion, which often stems from not properly cleaning the subfloor. Dirt, oil, or residue from previous flooring can prevent the adhesive on the back of the vinyl from making a strong bond. In fact, a study by the National Wood Flooring Association found that up to 40% of flooring failures are due to improper surface preparation.[4]
Another frequent mistake is applying the flooring too soon after subfloor preparation. If the subfloor is not completely dry, the adhesive may not bond correctly, leading to lifting or peeling. It’s essential to allow the subfloor to dry for at least 24 to 48 hours after any cleaning or sealing steps.[5]
It’s also important to avoid using excessive pressure when pressing the vinyl flooring onto the subfloor. While it’s crucial to ensure the flooring is pressed down evenly, using too much pressure can cause the adhesive to spread unevenly or cause the flooring to bubble. A good practice is to use a heavy roller or a squeegee to apply even pressure across the entire surface.
Related: Peel And Stick Wood Vinyl Flooring Checklist
Stick Kitchen
Kitchens are a high-traffic, high-moisture area, making them a challenging environment for peel and stick vinyl flooring. If the flooring is not installed correctly, it can begin to lift or bubble due to water exposure. This is especially common near sinks, dishwashers, and cooking areas where spills and steam are frequent.
Many installers fail to account for the fact that vinyl flooring can be affected by condensation from appliances or steam from cooking. Using a waterproof subfloor or applying a moisture barrier underneath the vinyl can help prevent long-term damage. Some manufacturers even recommend using a waterproof underlayment specifically designed for kitchens.
Another important consideration is the type of vinyl flooring used. Not all peel and stick vinyl flooring is suitable for kitchens. Look for products that are labeled as 'water-resistant' or 'moisture-resistant' to ensure they can withstand the humid conditions of a kitchen. These products are often more durable and have a higher resistance to mold and mildew.
“Kitchens are a high-traffic, high-moisture area, making them a challenging environment for peel and stick vinyl flooring.”— Peel and Stick Wood Flooring editors
Related: Peel And Stick Wood Look Vinyl Flooring Troubleshooting
Plank Flooring
Vinyl plank flooring is a popular choice for its realistic wood-like appearance, but it must be installed correctly to avoid issues like warping or buckling. One of the most common mistakes is not leaving enough expansion space around the edges of the room. Vinyl flooring needs room to expand and contract with temperature changes, and failing to account for this can result in buckling or cracking.
Another mistake is not following the manufacturer’s guidelines for installation. Many vinyl plank products require specific techniques, such as using a specific type of adhesive or ensuring the subfloor is level. Ignoring these guidelines can lead to an uneven floor or poor adhesion.
It’s also essential to ensure that the planks are aligned correctly and that the joints between them are snug. Leaving gaps between planks can lead to dust and debris getting trapped, which can cause the planks to lift or separate over time. Using a rubber mallet or tapping block can help ensure the planks are properly aligned and seated.
Wood Planks
When installing wood planks, it’s crucial to ensure that the subfloor is in excellent condition. A subfloor that is not level or has moisture issues can cause the planks to warp or lift over time. In fact, up to 30% of wood plank flooring failures are due to improper subfloor preparation, according to the Wood Flooring Association.
Another common mistake is not using the correct type of adhesive for the wood planks. Some wood planks require a specific type of adhesive that is compatible with both the planks and the subfloor. Using the wrong adhesive can lead to poor adhesion and eventual failure of the flooring.
It’s also important to allow the wood planks to acclimate to the environment before installation. This means storing the planks in the room where they will be installed for at least 48 hours to allow them to adjust to the temperature and humidity levels. Failing to do this can lead to warping or buckling after installation.
Wood Like
When selecting a wood-like flooring, it’s important to choose a product that is appropriate for the intended space. For example, vinyl flooring that is labeled as 'water-resistant' is better suited for kitchens, while a more decorative option may not be suitable for high-traffic areas.
Another common mistake is not considering the maintenance requirements of the flooring. Some wood-like flooring may require more frequent cleaning or the use of specific products to maintain its appearance. Failing to follow these guidelines can lead to premature fading, staining, or damage.
It’s also important to ensure that the flooring is compatible with the subfloor. Some wood-like flooring is not suitable for certain types of subfloors, such as concrete or wood that is not properly sealed. Always check the manufacturer’s recommendations to ensure the flooring will perform as expected.
Wood Effect
Achieving a convincing wood effect in peel and stick vinyl flooring requires careful selection of patterns and finishes. Many consumers overlook the importance of lighting conditions, which can drastically alter how the wood grain appears. Natural light can reveal imperfections or inconsistencies that are not visible under artificial lighting, leading to dissatisfaction with the final look.
Another common mistake is choosing a wood effect that doesn't match the room's decor or furniture. It's crucial to consider the existing color scheme and how the flooring will complement or contrast with other elements. A mismatched wood effect can make a space feel disjointed or outdated, even if the installation is flawless.
Lastly, neglecting to check the durability of the wood effect design can lead to premature wear. Some vinyl flooring with intricate wood patterns may be more prone to showing scratches or fading over time. Always look for high-quality, UV-resistant options that maintain their appearance for years.
Wood Look
While the wood effect focuses on the grain and texture, the wood look encompasses the entire visual appeal, including color, finish, and even the shape of planks. Many DIYers assume that any vinyl flooring labeled as 'wood look' will automatically match their expectations. This can lead to disappointment if the design is too stylized or doesn't align with the room's character.
A key mistake is not considering the room's function when selecting a wood look. For example, a highly realistic, natural wood look may be perfect for a living room but impractical for a kitchen or bathroom, where durability and water resistance are critical. Choosing the wrong wood look for the space can lead to long-term issues and frequent maintenance.
Also, the wood look can be affected by the installation process itself. If the flooring is not applied properly—such as not cleaning the subfloor correctly or not allowing it to acclimate—this can cause warping, peeling, or an uneven appearance. Always follow the manufacturer's guidelines to ensure the wood look is preserved over time.
Tools, Materials and Resources
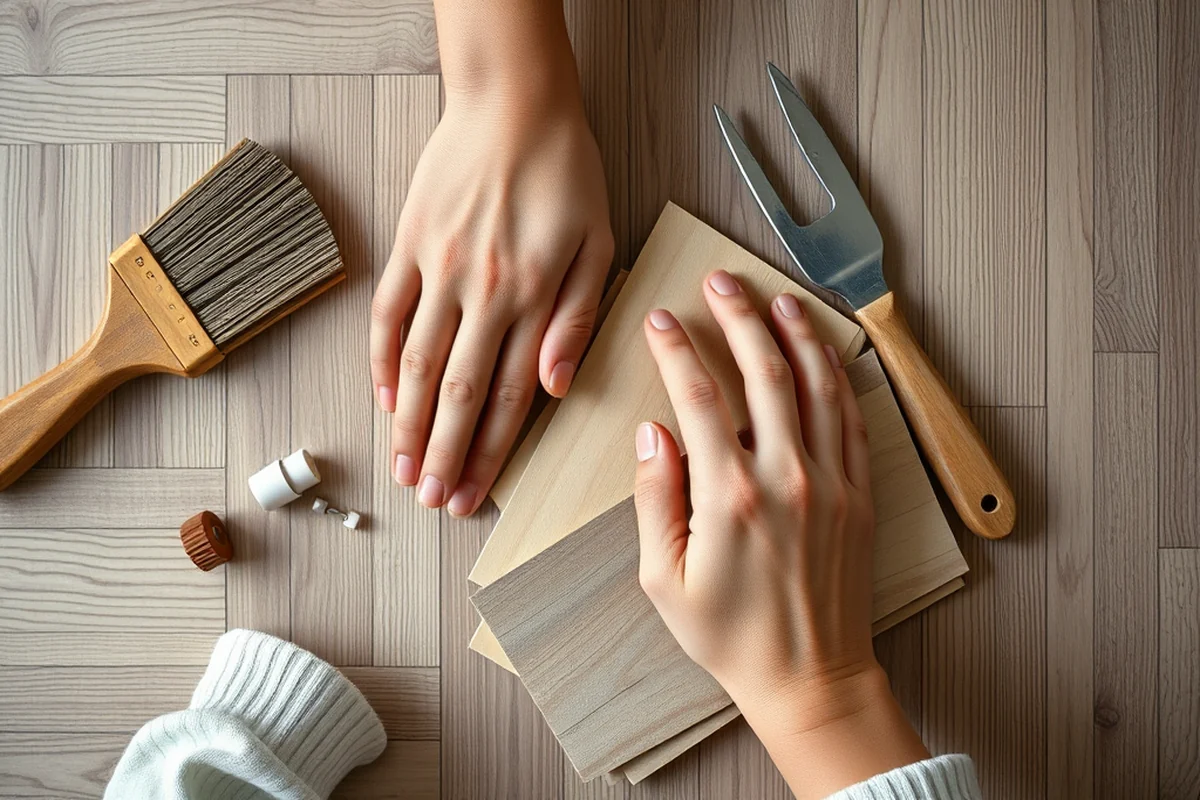
Proper installation of peel and stick wood grain vinyl flooring begins with having the right tools. A sharp utility knife is essential for cutting the vinyl to fit around obstacles, while a measuring tape ensures accurate placement and alignment. A smoothing tool or squeegee helps remove air bubbles and ensures a snug fit against the subfloor. It's also important to have a straight edge or level to check for evenness and to ensure that each plank is properly aligned.
In terms of materials, the vinyl planks themselves must be of high quality, with a realistic wood grain texture and a durable wear layer. A clean, dry, and level subfloor is crucial, so you may need a broom, vacuum, or even a damp mop to prepare the surface before installation. Also, having some painter’s tape on hand can help in marking areas or holding sections in place during the process.
For resources, manufacturers often provide detailed installation guides, which should be reviewed before starting. Online tutorials and YouTube videos can be invaluable for visual learners. Retailers may also offer in-store consultations or customer support to help with product selection and proper installation techniques. Investing in the right tools and materials from the beginning can save time and prevent costly mistakes later on.
Troubleshooting and Common Questions
One of the most common problems during installation is the formation of bubbles or wrinkles under the vinyl planks. This typically occurs when the subfloor is not clean, dry, or level. To avoid this, ensure the surface is thoroughly prepared before installation. If bubbles do appear, gently lift the affected section and press it back down, using a smoothing tool to remove air pockets. In severe cases, the plank may need to be removed and reinstalled after correcting the subfloor issue.
Another frequent question is whether peel and stick vinyl flooring can be installed over existing flooring. The answer depends on the condition of the existing floor. It should be flat, stable, and clean. If the existing floor is uneven or damaged, it should be repaired or replaced before installation. Also, some manufacturers may not recommend installing over certain types of flooring, so always check the product specifications.
If the vinyl planks are not adhering properly, it could be due to improper temperature or humidity levels. Installations should be done in a room with moderate temperatures and low humidity. If the adhesive is not activating as expected, it may be because the planks were not left out of the packaging long enough to acclimate to the room's conditions. Always follow the manufacturer’s instructions for acclimation and installation to avoid adhesion issues.
Getting Started: Your First Steps
Before installing peel and stick wood grain vinyl flooring, it's essential to clean and prepare the subfloor thoroughly. Remove any existing flooring, sweep or vacuum the surface, and ensure it is completely dry and free of dust, grease, or moisture. A clean and smooth subfloor is the foundation for a successful installation.
Next, measure the room and plan the layout of the flooring. Determine the direction in which the planks will be installed, and mark the floor with a chalk line to guide your work. It's also a good idea to acclimate the flooring in the room for 24 to 48 hours to allow it to adjust to the temperature and humidity of the space.
Once the subfloor is ready and the layout is planned, gather all necessary tools such as a utility knife, measuring tape, spacers, and a smoothing tool. Begin by cutting the first plank to fit the space, then peel off the backing and press it firmly onto the subfloor. Work in small sections and use a roller or hand pressure to ensure proper adhesion and a seamless finish.
🌱 Beginner
The simplest version — minimal supplies, quick win.
💰 Budget
Same result using what you already have.
⚡ Quick
The 10-minute version for busy days.
✨ Advanced
The upgraded version once the basics stick.
| The mistake | Why it happens | The fix |
|---|---|---|
| Not preparing the subfloor properly | A poorly prepared subfloor can lead to adhesion issues, warping, or buckling of the flooring. | Clean the subfloor thoroughly, ensure it is dry and level, and apply a self-leveling compound if necessary. |
| Ignoring room-specific conditions | Kitchens and bathrooms require specific flooring types that can handle moisture, while high-traffic areas need more durable options. | Choose a flooring product that is suitable for the intended space and ensure it meets the manufacturer's recommendations. |
| Using the wrong type of adhesive | Using an adhesive that is not compatible with the flooring material or subfloor can lead to poor adhesion and long-term failure. | Always use the adhesive recommended by the manufacturer and ensure it is suitable for the subfloor and flooring material. |
peel and stick wood grain vinyl flooring mistakes
Common Questions
How to installing peel and stick flooring on wood subfloor?
Peel and stick kitchen flooring not working?
Peel and stick kitchen flooring problems?
Peel and stick vinyl wood plank flooring not working?
Cite this guide
Peel and Stick Wood Flooring (2026). Peel And Stick Wood Grain Vinyl Flooring Mistakes. https://peelandplank.com/peel-and-stick-wood-grain-vinyl-flooring-mistakes/
Feel free to cite or share this guide.
References
- Water-Resistant Flooring - Building America Solution Center (basc.pnnl.gov)
- Essential Home Maintenance | KSRE Bookstore (bookstore.ksre.ksu.edu)
- Title 326, ARTICLE 8. VOLATILE ORGANIC COMPOUND RULES (iar.iga.in.gov)
- Table of Contents - Pierce County (piercecountywa.gov)
- HISTORIC PRESERVATION COMMISSION - Together South Bend (together.southbendin.gov)