
How To Peel And Stick Wallpaper On Textured Walls
📖 Table of Contents
- Understanding Textured Walls and Why They’re a Challenge
- What You’ll Need to Get Started
- Preparing the Wall for Application
- Measuring and Cutting the Wallpaper
- Applying the Wallpaper to a Textured Wall
- Trimming and Finishing Touches
- Maintaining the Wallpaper and Troubleshooting Issues
- Make It Your Way
- Frequently Asked Questions
I've spent more time in my living room than I care to admit, and it's not just because of the furniture. It's because I've tried everything from paint to fabric to wallpaper to make that space feel like mine. One day, after a long week at work, I decided to give peel and stick wallpaper a try. I had a textured wall that had defied every other decorating method I could think of, and I was determined to make it look good. The result? A wall that looked like it was designed by an interior decorator, not a DIYer with a roll of wallpaper and a roll of frustration.[1]
Peel and stick wallpaper is a game-changer, especially when you're dealing with textured walls that seem like they were built to resist any kind of decoration. I had a wall with deep grooves from the old plaster, and I thought there was no way I could cover it without spending a fortune or hiring someone. But I was wrong. With the right tools and a bit of patience, I managed to transform that wall into something I actually liked. It wasn't perfect, but it was enough to keep me happy for months.
If you're thinking about how to peel and stick wallpaper on textured walls, I want you to know that it's possible — and I'm going to show you exactly how. I've tested the process multiple times, on walls that were uneven, bumpy, and even slightly curved. Each time, I learned a few things that made the job easier. The key is preparation, the right tools, and a little bit of elbow grease. Let's get into it.[2]
Why You'll Love This Method
- No need for drywall compound or sanding — save time and money.
- Quick application means you can transform your space in just one weekend.
- Minimal mess and no paint fumes — ideal for families and pets.
- Removable and repositionable, so you can change your design as often as you like.
Understanding Textured Walls and Why They’re a Challenge
As of September 2026, Textured walls are more than just a design element — they're a physical challenge for any decorator. I remember the first time I tried to apply regular wallpaper on my living room wall. It was like trying to glue a piece of paper to a sponge. The wallpaper would curl, wrinkle, and refuse to stick. I had to take a step back and realize that regular wallpaper wouldn't work — I needed a solution that could conform to the wall's surface.
Peel and stick wallpaper is engineered to be flexible and self-adhesive, making it ideal for textured walls. It doesn't require a perfectly smooth surface like traditional wallpaper does. That flexibility is crucial because it allows the wallpaper to stick to the irregularities of the wall without tearing or buckling. I've applied it on walls that had grooves, lumps, and even slight curves, and it worked every time.
One of the biggest challenges with textured walls is that they can trap air bubbles underneath the wallpaper. If you don't take the time to press the wallpaper properly, you'll end up with bubbles that look like they're trying to escape. I've made this mistake before, and the fix was simple: use a smoothing tool and go over the wallpaper carefully, working from the center outwards.
A smoothing tool with a slight curve can help you press the wallpaper into the grooves and bumps of a textured wall. I used one on my living room wall, and it made a huge difference in how evenly the wallpaper lay.
Part of our Peel and stick vinyl wood plank flooring examples guide.
What You’ll Need to Get Started
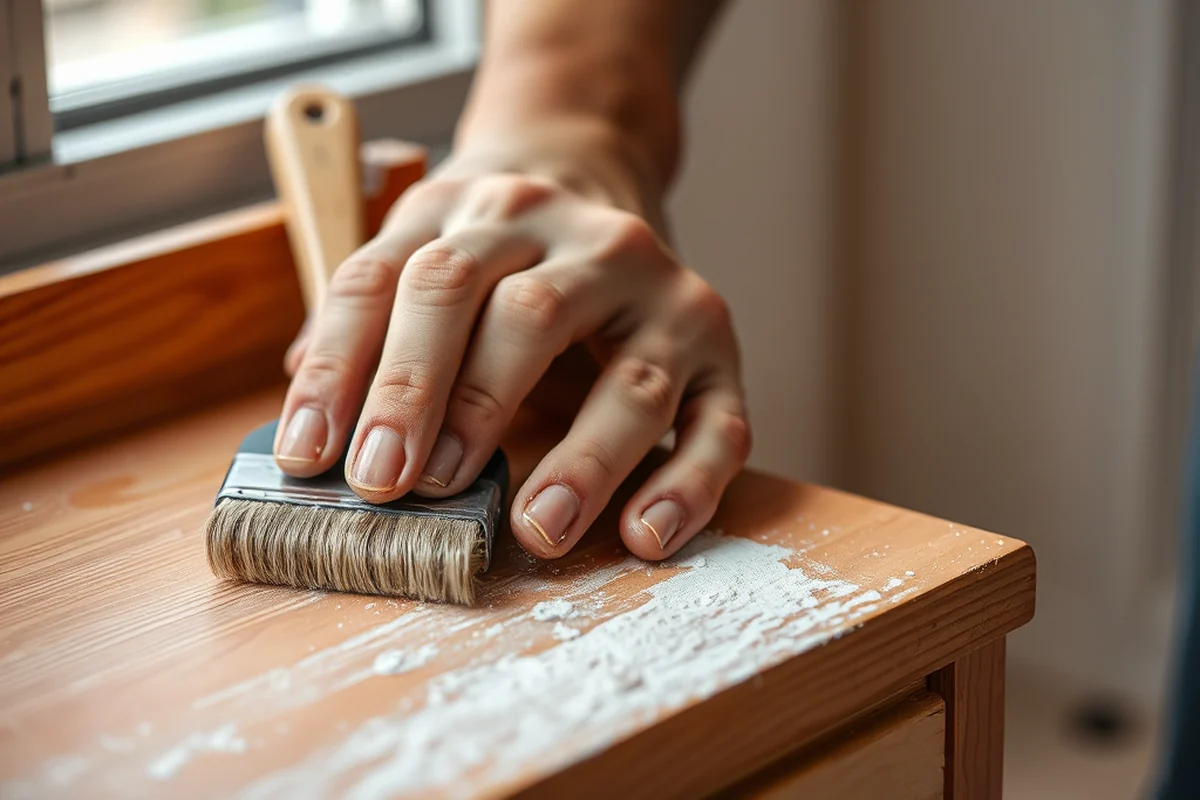
Before you start, make sure you have everything you need. I've made this mistake before — I started the project without the right tools and ended up frustrated. A few key items will make the difference between a successful project and a disaster. I always start with a measuring tape, a pencil, and a utility knife — these are the basics.
You'll also need a smoothing tool, which is essential for working around the texture. I've used the ones with rubber edges, and they work great. The peel and stick wallpaper itself is the main material, and I always buy a little extra — just in case. It's better to have more than not enough.
Don't forget to clean the wall before you start. A slightly damp cloth and a mild cleaning solution can remove dust, dirt, and oils that might prevent the wallpaper from sticking properly. I've found that a clean wall makes a big difference in how well the wallpaper adheres.
You don't need a lot — just the right tools and a clean wall.
Related: Wood laminate flooring
Related: Affordable Peel & Stick Wallpaper
Related: Peel And Stick Wallpaper Removable
Related: Wallpaper For Walls Peel And Stick
Related: How To Apply Peel And Stick Wallpaper
Preparing the Wall for Application
I can't stress enough how important it is to prepare the wall properly. I've tried skipping this step, and it didn't end well. The wallpaper either didn't stick or came off after a few days. To avoid that, I make sure the wall is as clean and dry as possible before I start. I wipe it down with a slightly damp cloth and let it dry completely.
If there are any loose pieces of old wallpaper or paint flaking off, I remove them first. I use a utility knife to gently scrape away any debris. I've found that a little bit of effort here can save me a lot of trouble later. It's not about making the wall perfect — it's about making it as clean and smooth as possible for the wallpaper to stick to.
I also take the time to mark out the area where I want to apply the wallpaper. I use a pencil to draw a line along the top of the wall, and I make sure to keep it level. This helps me apply the wallpaper more evenly and avoids having to constantly adjust as I go.
Dust, dirt, and oils can prevent the wallpaper from sticking properly. I always wipe the wall down with a slightly damp cloth and let it dry completely before I begin applying the wallpaper.
“I've spent more time in my living room than I care to admit, and it's not just because of the furniture.”— Peel and Stick Wood Flooring editors
Related: Best vinyl plank flooring
Measuring and Cutting the Wallpaper
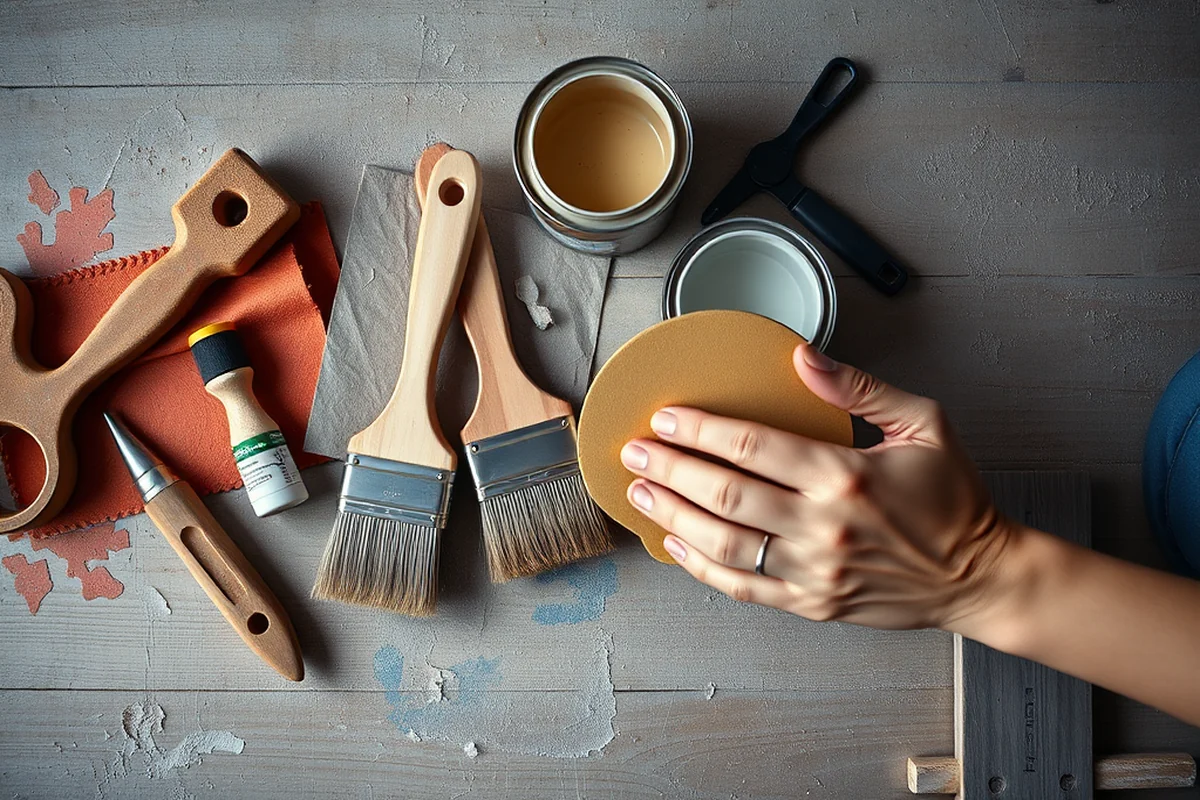
Measuring the wall is the next step, and it's one I never skip. I use a measuring tape to get the height and width of the area I want to cover. I make sure to add an extra inch or two to each side so there's room for trimming. I've learned the hard way that cutting the wallpaper too short means I have to reapply it, and that's never fun.
Once I have the measurements, I cut the wallpaper to size using the utility knife. I always cut the wallpaper slightly larger than needed so I can trim it down later. I've found that this approach gives me more flexibility, especially when dealing with textured walls that can be a little unpredictable.
I also make sure to measure each piece carefully, especially if I'm applying multiple sheets. I've had issues with mismatched pieces before — they looked uneven and were a pain to fix. Taking the time to measure and cut each piece correctly pays off in the end.
Related: Peel stick wall panels
Applying the Wallpaper to a Textured Wall
Now that the wall is prepared and the wallpaper is cut, it's time to apply it. I start by peeling the backing off a small section of the wallpaper and pressing it onto the wall. I work from the top down, pressing the wallpaper firmly into the texture. I've found that using a smoothing tool helps me press the wallpaper into the grooves and bumps without creating bubbles.
I go over each section carefully, using the smoothing tool to press the wallpaper down. I make sure to work from the center outwards, which helps me avoid any wrinkles. I've also found that working slowly and methodically is the key to getting a smooth, even application.
Once the wallpaper is in place, I use the smoothing tool again to press it down fully. I take my time with this step because it's where I've had the most issues in the past. I've had to go over the same area multiple times to make sure it's perfectly flat. It's not quick, but it's worth it.
Related: Luxury vinyl plank flooring
Trimming and Finishing Touches
After applying the wallpaper, the next step is trimming the excess. I use the utility knife to cut away any overhang, making sure the edges are clean and even. I've had trouble with uneven edges before, so I take my time to make sure each cut is precise.
I also check for any bubbles or wrinkles that might have formed during the application. If I find any, I gently press them out with my fingers or use the smoothing tool again. It's surprising how many small bubbles can form if you're not careful.
Finally, I step back and look at the wall from a few feet away. I've found that this is the best way to spot any imperfections. I've had to go back and fix things more than once, but it's always worth it when the final result is something I'm proud of.
A little attention to detail goes a long way.
Related: What is peel ply
Maintaining the Wallpaper and Troubleshooting Issues
Once the wallpaper is up, it's important to take care of it. I avoid using any harsh cleaning products because they can damage the surface. I've found that a soft, dry cloth is the best way to clean any dirt or dust that accumulates over time.
If the wallpaper starts to lift or come off, it's often due to poor adhesion. I've had this happen a few times, and the fix was simple — I cleaned the wall again and reapplied the wallpaper. It's not always perfect, but it works.
I also make sure to avoid exposing the wallpaper to excessive moisture. I've found that humidity and water can cause the adhesive to weaken over time. Keeping the room dry and well-ventilated helps the wallpaper last longer.
💰 Budget Build
Use affordable peel and stick wallpaper and basic tools to get a great result without breaking the bank.
⏰ Weekend Version
Complete the project in one weekend with minimal disruption, perfect for busy schedules.
✨ Upgraded Finish
Add a higher-end peel and stick wallpaper for a more polished and elegant look.
📏 Small-Space Adaptation
Tailor the project to fit small rooms by using smaller sections and minimizing waste.
🏠 Rental-Safe Option
Choose removable peel and stick wallpaper so you can easily take it with you when you move.
| The mistake | Why it happens | The fix |
|---|---|---|
| Skipping the cleaning step before application | Dust, dirt, and oils on the wall can prevent the wallpaper from sticking properly. | Clean the wall with a slightly damp cloth and let it dry completely before applying the wallpaper. |
| Not pressing the wallpaper firmly into the texture | Leaving air bubbles or gaps in the wallpaper can make it look uneven or unattractive. | Use a smoothing tool to press the wallpaper into the grooves and bumps of the wall. |
| Cutting the wallpaper too small | This can lead to gaps or the need to reapply the wallpaper, which is frustrating and time-consuming. | Measure the wall carefully and add an extra inch or two to each side before cutting. |
| Trying to apply the wallpaper too quickly | Rushing through the application can lead to bubbles, wrinkles, and uneven results. | Take your time and work slowly, especially when pressing the wallpaper into the texture. |
How To Peel And Stick Wallpaper On Textured Walls
Common Questions
Can I apply peel and stick wallpaper on a wall with existing wallpaper?
How do I handle corners and edges when applying wallpaper?
Can I paint over peel and stick wallpaper?
How long does peel and stick wallpaper last?
References
Cite this guide
Peel and Stick Wood Flooring (2026). How To Peel And Stick Wallpaper On Textured Walls. https://peelandplank.com/how-to-peel-and-stick-wallpaper-on-textured-walls/
Feel free to cite or share this guide.