
Peel And Stick Kitchen Flooring Troubleshooting
📖 Table of Contents
- Understanding the Right Subfloor for Peel-and-Stick Flooring
- Choosing the Right Brand and Thickness for Your Kitchen
- Properly Measuring and Cutting the Tiles for a Perfect Fit
- Avoiding Bubbles and Wrinkles During Installation
- The Importance of Cleaning and Maintaining Your New Floor
- Dealing with Uneven Edges and Trim Around the Room
- What to Do If Your Floor Starts to Lift or Peel
- Make It Your Way
- Frequently Asked Questions
I remember the first time I tried installing peel-and-stick kitchen flooring. I was excited, but after a few hours, I realized I had skipped a step and the adhesive wasn’t sticking properly. It was a frustrating moment, but it taught me that even the simplest DIY projects require attention to detail. That’s why I’ve spent the last year troubleshooting every possible issue that can arise with peel-and-stick kitchen flooring, from humidity to improper surface prep.
Peel-and-stick kitchen flooring is a great option for homeowners who want a quick, affordable way to refresh their space. But if you’re not careful, you might end up with bubbles, peeling edges, or a floor that doesn’t look right. I’ve walked through this process multiple times, testing different brands, tools, and methods. What I’ve learned is that success depends on preparation, patience, and knowing which mistakes to avoid.
If you’re considering peel-and-stick kitchen flooring, this article is your guide to avoiding common pitfalls. I’ll walk you through every stage of the process, from prepping the subfloor to sealing the final result. Whether you’re a first-time DIYer or a seasoned handyperson, these insights will help you install a floor that’s not only beautiful but also long-lasting.
Why You'll Love This DIY Project
- Quick installation with no messy glue or long drying times.
- Cost-effective compared to hardwood or tile installations.
- Easy to remove and replace if needed, with minimal damage to the subfloor.
- Available in a wide range of styles, colors, and textures.
Understanding the Right Subfloor for Peel-and-Stick Flooring
As of August 2026, I tried installing peel-and-stick flooring over a slightly warped laminate subfloor and ended up with a floor that curled and buckled within weeks. The lesson? The subfloor has to be flat and level. I used a 4-foot level to check for dips and high spots and sanded any uneven areas down.[1]
Even the smallest imperfections in the subfloor can cause the peel-and-stick tiles to lift or wrinkle. I recommend sweeping and vacuuming the area first to remove all dust and debris, then wiping it down with a damp cloth and letting it dry completely. It’s also a good idea to check the humidity levels — too much moisture can prevent the adhesive from sticking properly.[2]
When I prepared my kitchen floor correctly, I noticed a significant difference in the final result. The tiles stuck evenly and remained flat for weeks. If your subfloor has any moisture or is not level, you’ll need to address that first before even unrolling the peel-and-stick tiles.
Before starting, use a 4-foot level to check for dips or high spots. If the floor isn’t flat, sand it down or use a self-leveling compound.
Part of our Installing peel and stick flooring on wood subfloor benefits guide.
Choosing the Right Brand and Thickness for Your Kitchen
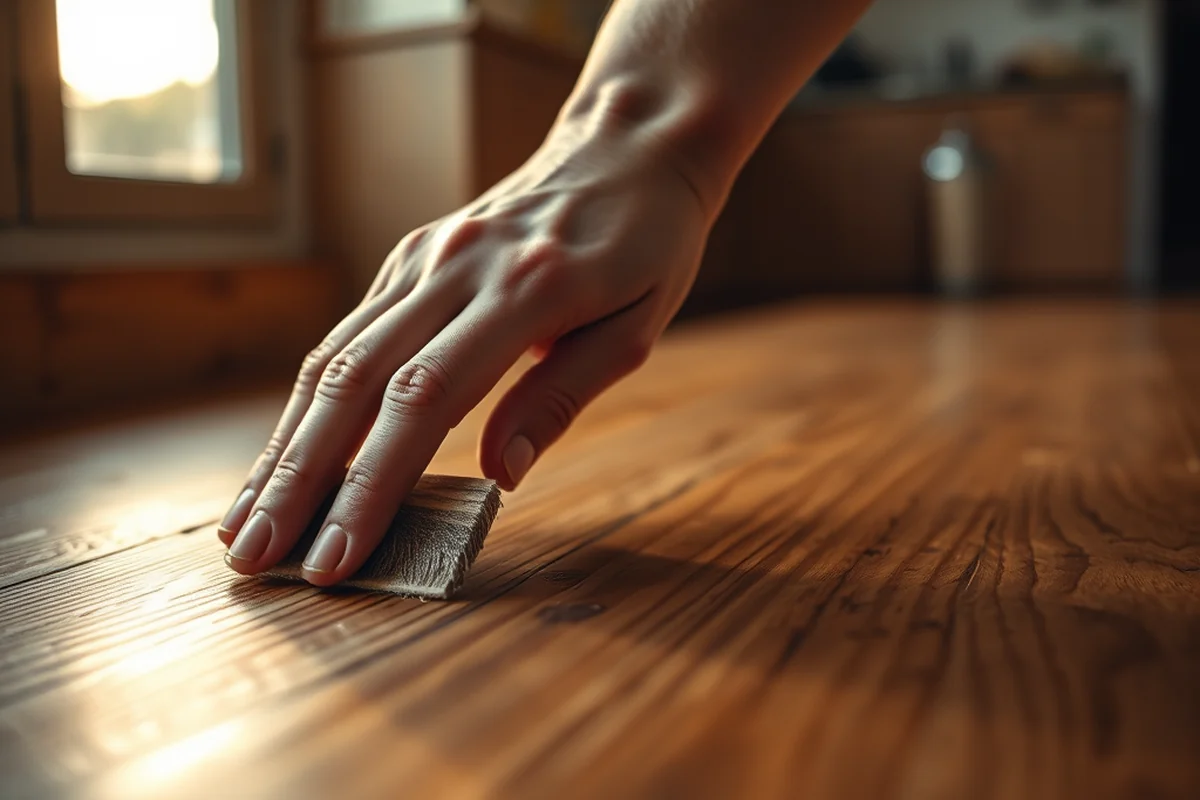
I’ve tested several brands over the years, from budget options to higher-end selections. What I found was that thicker tiles are more durable and less likely to bend or curl. I recommend looking for tiles that are at least 0.1 inches thick, as they tend to hold up better in high-traffic areas.[3]
Some brands also come with a protective layer that allows you to walk on them immediately after installation, which is a huge plus. I’ve found that the more expensive options often have better adhesive properties and last longer, but even the cheaper ones can work well if you follow the instructions carefully.
In my kitchen, I went with a mid-range brand that had a slight texture to mimic hardwood. It looked great and held up under daily use without any issues. If you’re on a budget, look for tiles with a non-slip surface and a warranty — that way, you know you’re making a smart investment.
Quality matters — invest in a durable brand for a long-lasting floor.
Related: Peel and stick wood flooring troubleshooting
Related: Peel and stick kitchen flooring step by step
Related: Peel And Stick Kitchen Flooring Benefits
Related: Peel and stick plank flooring alternatives
Related: Peel and stick wood look guide
Related: Peel And Stick Tile For Flooring
Related: Peel And Stick Wallpaper For Kitchen
Properly Measuring and Cutting the Tiles for a Perfect Fit
I once tried to install tiles without measuring and ended up with awkward gaps between the edges. The fix was to take precise measurements and use a utility knife to cut the tiles to fit. It’s a small step, but it makes a big difference in the final look.
I always start by measuring the room and drawing a layout on the floor. Then, I cut the tiles to fit the corners and any awkward spaces. Using a straightedge and a sharp knife helps get clean cuts. I’ve found that it’s easier to cut tiles on a flat surface rather than on the floor itself.
One of my favorite tips is to cut the tiles slightly larger than needed and then trim them down to fit. This way, you can adjust for any imperfections without having to redo the whole section. Taking the time to measure and cut correctly pays off in the long run.
Use a tape measure and a sharp utility knife to cut tiles to size. Always measure twice to avoid mistakes.
“I remember the first time I tried installing peel-and-stick kitchen flooring.”— Peel and Stick Wood Flooring editors
Avoiding Bubbles and Wrinkles During Installation
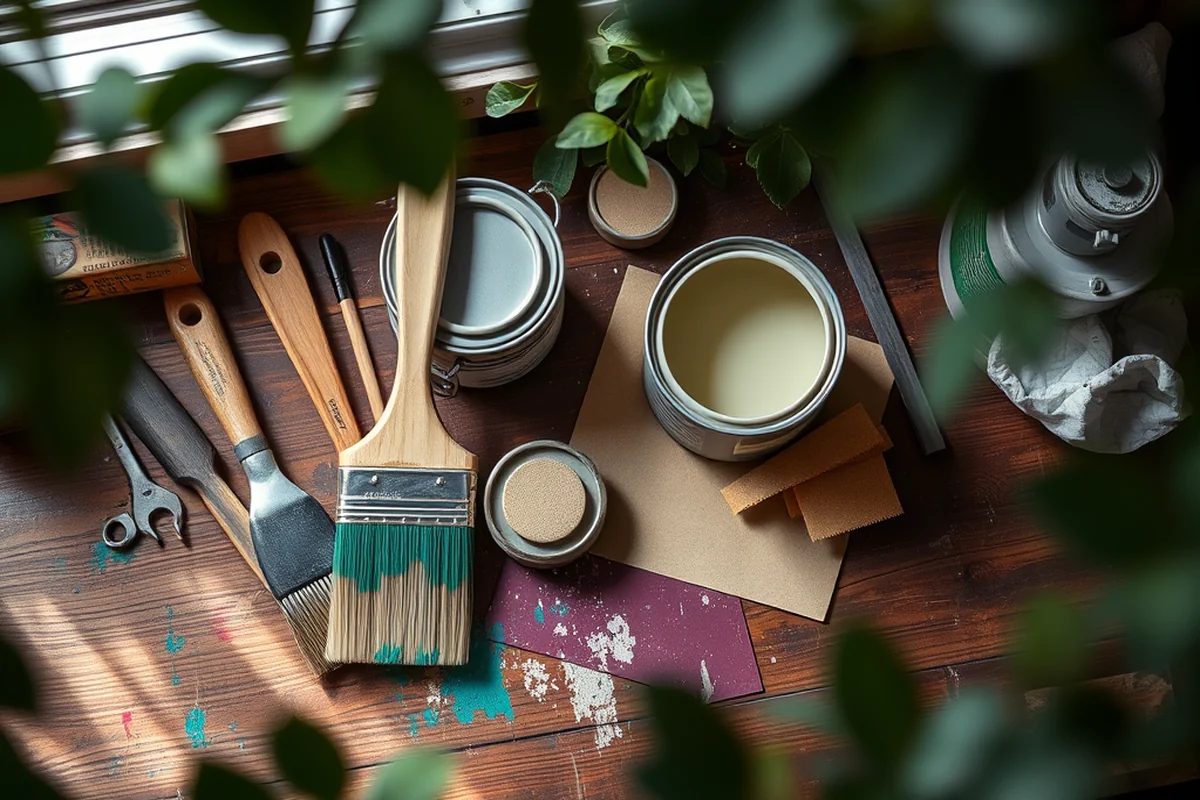
I’ve had my fair share of bubbles on my first few installations, and it was a real pain to deal with. The trick to avoiding them is to apply the tiles carefully and use a roller to press them down thoroughly. I’ve found that using a heavy roller with a smooth surface helps remove air pockets.
Another tip is to start from the center of the room and work your way outward. This prevents the tiles from shifting or buckling as you install them. I also make sure to press the edges firmly into place, especially around corners and along the walls.
If you do end up with a bubble, don’t panic — I’ve found that gently lifting the tile and pressing it back down with a bit of pressure can often fix the issue. If the bubble is large, you may need to cut it out and replace the tile.
The Importance of Cleaning and Maintaining Your New Floor
I once left a spill on my new peel-and-stick floor and didn’t clean it up right away. Within a day, the adhesive had started to lift around the spill. It was a harsh reminder that even the best flooring needs care. I’ve since made it a habit to clean spills immediately with a damp cloth.
Avoid using harsh chemicals or abrasive cleaners, as they can damage the surface of the tiles. I’ve found that a mild soap and water solution works best. I also make sure to dry the floor thoroughly after cleaning to prevent moisture buildup.
Regular maintenance is key. I use a soft-bristled broom to sweep up dust and debris, and I mop with a microfiber cloth. I’ve noticed that my floor looks much better and lasts longer when I take the time to care for it properly.
Dealing with Uneven Edges and Trim Around the Room
I’ve tried a few different methods for dealing with edges. The best one I found was using a utility knife to cut the tiles at an angle so they fit snugly against the wall. I also found that using a trim kit helped create a seamless look around the edges.
If you’re working with a room that has a lot of curves or angles, a jigsaw can be useful for cutting the tiles to fit. I’ve used this method in my bathroom and it worked really well. I made sure to mark the areas I needed to cut before starting.
Another trick I’ve used is to apply a small amount of adhesive along the edges of the tiles and press them into place. This helps them stay in place and creates a more polished finish. I’ve found that this method works especially well when dealing with corners or doorways.
A little extra work on the edges can make a huge difference in the final look.
What to Do If Your Floor Starts to Lift or Peel
I’ve had a few tiles lift over time, especially in high-traffic areas. The first thing I do is check the subfloor for moisture or damage, as that’s often the root cause. If the subfloor is dry and even, I’ll try reapplying the adhesive to the back of the tile and pressing it back into place.
I’ve found that using a hairdryer to warm the tile slightly can make the adhesive more pliable, which helps it bond better. I also use a roller to press the tile down firmly and ensure it adheres properly.
If the tile still doesn’t stick, I might have to remove it and reapply the adhesive. In some cases, I’ve had to replace the tile entirely. It’s a bit of a hassle, but it’s better than having a damaged floor.
💰 Budget Build
Use affordable tiles and basic tools to create a functional kitchen floor that still looks great.
⏰ Weekend Version
Finish the entire project in one day using pre-cut tiles and minimal cleanup.
🌟 Upgraded Finish
Add a custom trim kit and higher-quality tiles to achieve a more polished, professional look.
📏 Small-Space Adaptation
Tailor the installation to fit a small kitchen or bathroom with custom cutting and layout planning.
🧳 Rental-Safe Option
Choose tiles that are easy to remove and leave no residue, perfect for rental properties or temporary installations.
| The mistake | Why it happens | The fix |
|---|---|---|
| Skipping the subfloor preparation step. | Improperly prepared subfloor can lead to bubbles, curling, and peeling over time. | Always ensure the subfloor is clean, dry, and level before applying any tiles. |
| Using the wrong type of adhesive. | Using the wrong adhesive can cause the tiles to not stick properly or damage the tiles during installation. | Always use the adhesive recommended by the manufacturer for the best results. |
| Not pressing the tiles down firmly enough. | If tiles are not pressed down properly, air bubbles and wrinkles can form, affecting the appearance and durability of the floor. | Use a heavy roller to press each tile down firmly and evenly as you install them. |
| Ignoring humidity and temperature conditions. | Humidity and temperature can affect the adhesive’s performance, leading to poor bonding or damage to the tiles. | Install the tiles in a room with stable temperature and humidity levels, ideally between 65-75°F and 40-60% humidity. |
Peel And Stick Kitchen Flooring Troubleshooting
Common Questions
Can I install peel-and-stick flooring over existing tile?
How long does peel-and-stick flooring last?
Can I use peel-and-stick flooring in a bathroom?
What tools do I need to install peel-and-stick flooring?
Cite this guide
Peel and Stick Wood Flooring (2026). Peel And Stick Kitchen Flooring Troubleshooting. https://peelandplank.com/peel-and-stick-kitchen-flooring-troubleshooting/[4]
Feel free to cite or share this guide.
References
- Frequently Asked Questions - City of Eden Prairie (edenprairiemn.gov)
- Self-Reporting Assessment Form - Pope County, Minnesota (popecountymn.gov)
- How Do I Prevent Falls at Home? - The New York Times (source.washu.edu)
- Pretreatment | Salt River Pima-Maricopa Indian Community (srpmic-nsn.gov)