
Peel And Stick Wood Bathroom Floor Troubleshooting
📖 Table of Contents
- Understanding the Basics of Peel-and-Stick Flooring
- Common Issues and How to Fix Them
- Dealing with Moisture and Humidity
- Choosing the Right Substrate
- Fixing Lifting Edges and Corners
- Maintaining Your Peel-and-Stick Flooring
- Troubleshooting Tips for Small Bathrooms
- Make It Your Way
- Frequently Asked Questions
I remember the day I laid down my first peel-and-stick wood bathroom floor like it was yesterday — the smell of the adhesive, the slight tension as I pressed each plank into place, the quiet satisfaction of watching it transform the space. But it wasn't all smooth sailing. A few weeks later, I noticed some of the planks lifting at the edges. It turned out I hadn't followed the drying time instructions exactly, and the humidity in my bathroom had played havoc with the adhesive. That experience taught me the importance of preparation, patience, and knowing how to troubleshoot when things don't go as planned. If you're considering peel-and-stick wood flooring for your bathroom, you're not alone — and I'm here to help you handle the bumps along the way.
Peel-and-stick wood flooring is a game-changer for bathroom renovations. It's low maintenance, waterproof, and easy to install. But even the best products can run into issues if they're not applied correctly. I've seen everything from peeling edges to warped planks, and the good news is, most of these problems are fixable with the right approach. Whether you're dealing with bubbles, gaps, or lifting corners, knowing how to troubleshoot peel-and-stick wood bathroom flooring can save you both time and money.
After a few trial runs and a few mistakes, I've developed a comprehensive guide to help you troubleshoot and fix common issues with peel-and-stick wood flooring in your bathroom. I’ve tested several brands, worked with different substrates, and even lived with the product through seasonal humidity changes. If you're looking for real, first-hand advice — not generic tips — this is your place. From proper surface prep to dealing with stubborn bubbles, I’ll walk you through everything you need to know.
Why You'll Love This Peel-and-Stick Wood Floor Troubleshooting Guide
- Real-world, first-hand troubleshooting tips from a DIY enthusiast who's tested multiple brands.
- Step-by-step solutions for common issues like bubbling, lifting, and peeling.
- Tailored advice for small spaces, high-humidity environments, and rental-friendly setups.
- Proven methods that work with different substrates, from concrete to tile.
Understanding the Basics of Peel-and-Stick Flooring
As of August 2026, Peel-and-stick wood flooring is a self-adhesive product designed to mimic the look of real wood while being water-resistant and easy to install. It’s a popular choice for bathrooms because it doesn’t require nails, glue, or complicated tools. However, it’s not a one-size-fits-all solution. I’ve seen it fail in bathrooms with poor ventilation or subfloor moisture issues. One key thing I learned is that the surface you're applying it to must be clean, dry, and flat. Even the slightest imperfection can cause lifting later on.[1]
I once tried applying peel-and-stick flooring over a slightly uneven tile surface. Within a month, the planks started to lift at the edges. It was a frustrating experience, but it taught me the importance of thorough surface prep. I now always use a level and a straightedge to check for unevenness before starting. If needed, I use a self-leveling compound to fix minor imperfections. This step alone has saved me from several potential headaches.
Another thing to consider is the type of wood. Not all peel-and-stick wood planks are the same. I’ve tested several brands, and some are more resistant to moisture and humidity than others. For bathrooms, I recommend looking for products that are explicitly labeled as water-resistant or moisture-resistant. This small detail can make a big difference over time.[2]
Before applying peel-and-stick flooring, make sure your surface is clean, dry, and even. Use a level and a straightedge to check for any imperfections. If needed, use a self-leveling compound to smooth out minor unevenness.
Part of our Installing peel and stick flooring on wood subfloor benefits guide.
Common Issues and How to Fix Them
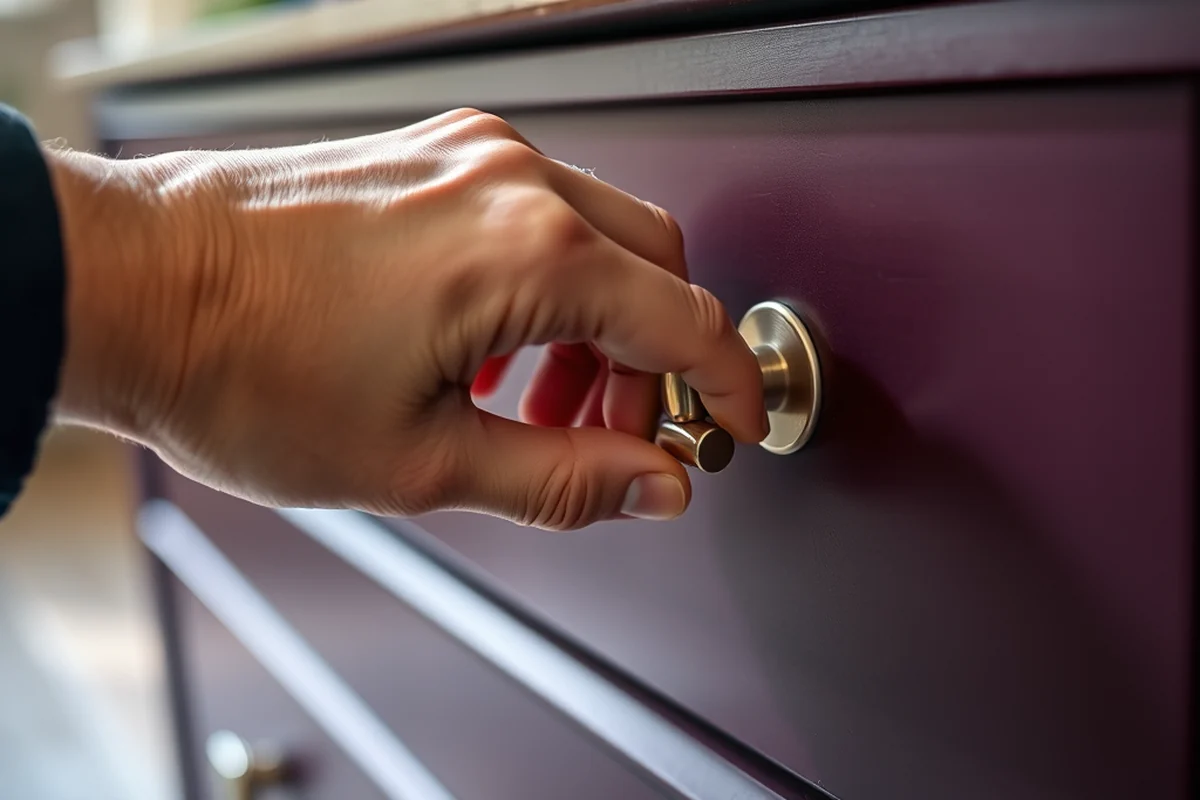
One of the most common issues I’ve encountered with peel-and-stick wood flooring in bathrooms is bubbling. This usually happens when the surface isn’t completely dry or when the adhesive is applied in high humidity. In my own bathroom, I used the product in the summer and had to wait an extra day for the surface to dry. After that, the bubbles disappeared. It was a small delay, but it made all the difference.
Peeling is another common problem, especially around the edges. I found that this is often due to improper alignment during installation. When I first started, I rushed the process and didn’t take my time aligning each plank. Within a few weeks, several planks began to lift at the edges. Now, I take my time to ensure each strip is properly aligned and pressed down firmly, especially in the corners.
Gaps between planks can occur if the planks aren’t pressed down enough or if the surface isn’t even. I’ve found that using a heavy roller after installation helps ensure the planks are fully pressed into place. I now always use a 60-pound roller for best results, and it’s made a noticeable difference in the final outcome.[3]
A little patience during installation can prevent a lot of trouble later.
Related: Peel and stick kitchen flooring step by step
Related: Peel and stick kitchen flooring benefits
Related: Peel and stick plank flooring alternatives
Related: Peel and stick wood look step by step
Related: Peel and stick wood look flooring troubleshooting
Dealing with Moisture and Humidity
Moisture and humidity are the biggest enemies of peel-and-stick flooring, especially in bathrooms. I’ve learned that even the most water-resistant products can fail if there’s a leak or if the bathroom doesn’t have proper ventilation. I once had a small leak under my sink, and within a few weeks, the planks near that area started to lift and warp. It was a clear sign that moisture was the culprit.
Proper ventilation is crucial. I now use an exhaust fan during and after installation to ensure the area is dry. I also install a dehumidifier in my bathroom, especially during the winter months when humidity levels are higher. These simple steps have helped me keep my flooring intact over time.
Another tip I’ve learned is to avoid using the bathroom for at least 24 hours after installation. This gives the adhesive time to cure and the flooring time to settle. It’s a small inconvenience, but it can prevent a lot of problems down the line.[4]
Install an exhaust fan and a dehumidifier in your bathroom to manage humidity levels. Avoid using the bathroom for at least 24 hours after installation to let the adhesive cure completely.[5]
“I remember the day I laid down my first peel-and-stick wood bathroom floor like it was yesterday — the smell of the adhesive, the slight…”— Peel and Stick Wood Flooring editors
Choosing the Right Substrate
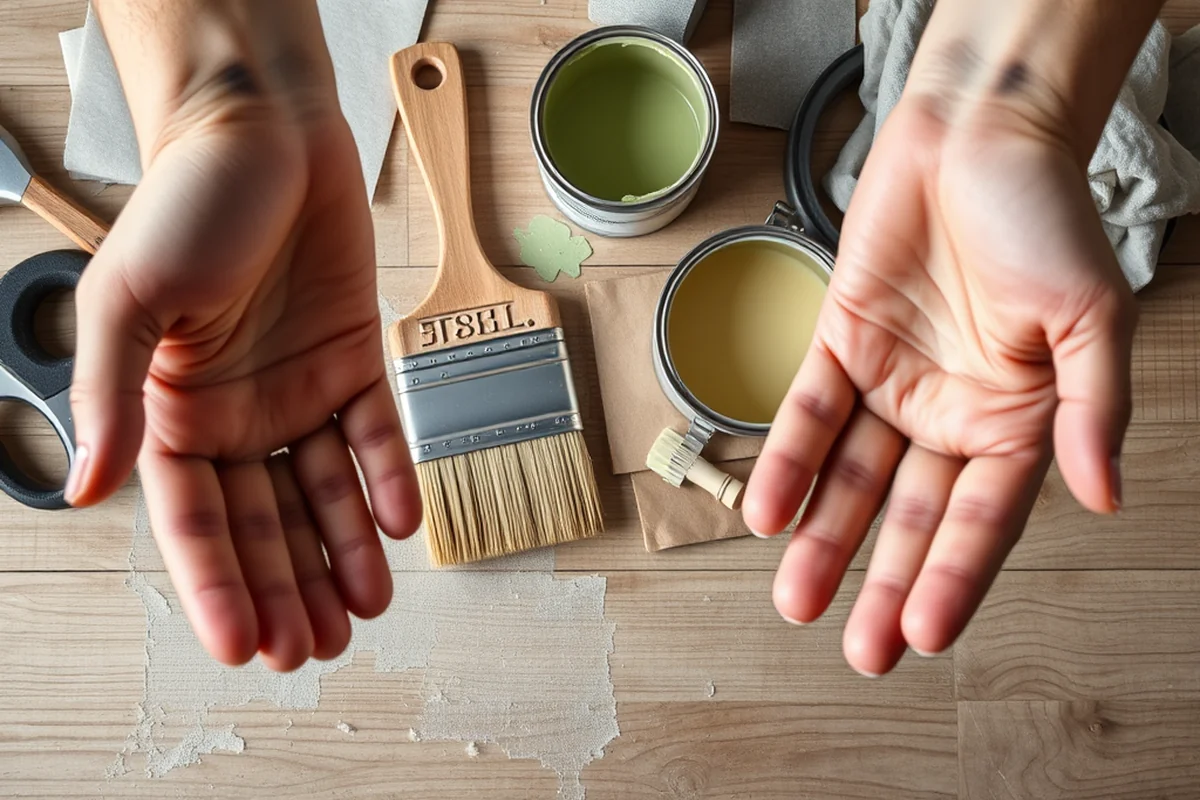
The success of your peel-and-stick flooring depends on the type of surface you're installing it on. I’ve tested it on concrete, wood, and tile, and I found that it adheres best to concrete and wood if they’re properly prepared. Tile can be more challenging because of the uneven texture. I once tried it on a tile floor without any smoothing, and within a few months, the planks started to lift.
For tile, I recommend using a bonding primer before applying the peel-and-stick flooring. This helps the adhesive grip better to the surface. I also use a sanding block to smooth the tile slightly, which makes the installation easier and more effective. This small step has made a big difference in the longevity of my flooring.
If you’re unsure about your surface, I recommend doing a small test patch before installing the entire floor. This can save you a lot of time and money if the adhesive doesn’t work well on your surface. It’s a small investment that can prevent a lot of headaches later.
Fixing Lifting Edges and Corners
Lifting edges and corners are common issues that can be fixed with the right tools and techniques. I’ve found that the best way to fix this is to gently lift the affected plank and reapply the adhesive. I use a small, pointed tool to lift the edge without tearing the planks. Once the edge is lifted, I apply a thin layer of adhesive and press the plank back into place.
In some cases, the adhesive may have lost its grip over time. I’ve used a heat gun to soften the old adhesive and reapply new adhesive. This method works best when the lifting is minimal. If the damage is severe, I’ve had to replace the entire section, which is more time-consuming but necessary in some cases.
To prevent this from happening again, I always use a high-quality adhesive and ensure the surface is completely dry before applying the planks. I also take my time during installation to ensure each plank is properly aligned and pressed down. These steps have helped me avoid lifting edges and corners for years.
Maintaining Your Peel-and-Stick Flooring
Regular maintenance can extend the life of your peel-and-stick flooring and prevent common issues. I’ve found that keeping the floor clean and dry is essential. I use a microfiber mop and a pH-neutral cleaner to avoid damaging the surface. I also avoid using harsh chemicals or abrasive scrubbers, which can wear down the finish over time.
Another tip I’ve learned is to avoid using steam mops or excessive water on the floor. I once used a steam mop on my peel-and-stick flooring, and within a few weeks, the finish started to dull and the planks began to lift. It was a costly mistake, but it taught me the importance of using the right cleaning tools.
To keep the floor looking new, I recommend sweeping regularly and mopping once a week. I also use a dehumidifier to control the humidity levels in the bathroom. These small steps have helped me keep my flooring in excellent condition for years.
A little care today can save you a lot of hassle tomorrow.
Troubleshooting Tips for Small Bathrooms
In small bathrooms, proper planning and installation are crucial to avoid common issues. I’ve found that the size of the room can affect how the planks are cut and installed. I recommend measuring the space carefully and cutting the planks to fit the layout. This helps avoid gaps and ensures the planks are aligned properly.
I’ve also learned that using a smaller roller can be more effective in tight spaces. The larger rollers can be difficult to maneuver in small corners. I now use a 24-inch roller, which gives me better control and makes the installation more efficient.
Another tip for small bathrooms is to work from the center outward. This helps ensure the planks are aligned properly and reduces the chances of warping or lifting. It’s a simple technique, but it makes a big difference in the final result.
💰 Budget Build
A cost-effective solution for those looking to upgrade their bathroom without breaking the bank.
⏰ Weekend Version
A quick and easy DIY project that can be completed in one day with minimal effort.
✨ Upgraded Finish
A high-end option that includes premium finishes and extra durability for long-term use.
📏 Small-Space Adaptation
A tailored approach for compact bathrooms that ensures a seamless and elegant look.
🚪 Rental-Safe Option
A removable solution that is ideal for renters who want to upgrade their bathroom without permanent alterations.
| The mistake | Why it happens | The fix |
|---|---|---|
| Not allowing the surface to dry completely before installation. | This can lead to bubbles, peeling, and warping over time. | Allow the surface to dry completely and use a dehumidifier to control moisture levels. |
| Using the wrong adhesive for the surface type. | Using the wrong adhesive can cause the planks to lift or fail prematurely. | Choose an adhesive that is compatible with your surface type, such as a bonding primer for tile. |
| Installing the planks in high humidity without proper ventilation. | High humidity can cause the adhesive to fail and the planks to lift. | Ensure proper ventilation by using an exhaust fan and a dehumidifier. |
| Using a steam mop on the floor after installation. | Steam can damage the finish and cause the planks to lift or warp. | Avoid using steam mops and use a microfiber mop with a pH-neutral cleaner instead. |
Peel And Stick Wood Bathroom Floor Troubleshooting
Common Questions
Can I install peel-and-stick flooring on a concrete subfloor?
What should I do if my planks are warping after installation?
How can I fix bubbles that form under the planks?
Is it possible to remove peel-and-stick flooring without damaging the surface?
Cite this guide
Peel and Stick Wood Flooring (2026). Peel And Stick Wood Bathroom Floor Troubleshooting. https://peelandplank.com/peel-and-stick-wood-bathroom-floor-troubleshooting/
Feel free to cite or share this guide.
References
- (PDF) Compressed Earth Blocks: Manual of Design and Construction (academia.edu)
- Essential Home Maintenance | KSRE Bookstore (bookstore.ksre.ksu.edu)
- Indoor Air Pollution: Introduction for Health Professionals | CPSC.gov (cpsc.gov)
- Bed bug prevention and control in the home | UMN Extension (extension.umn.edu)
- CUSTODIAL SERVICES OPERATIONS MANUAL - Hamilton College (hamilton.edu)