
How To Peel And Stick Wallpaper On Furniture
📖 Table of Contents
I remember the first time I tried to peel and stick wallpaper on an old, dented side table. The table had seen better days, and I was determined to give it a second life. I had heard about peel-and-stick wallpaper being a quick, easy way to refresh furniture without the hassle of paint or the mess of traditional wallpaper. I didn’t know then how much of a game-changer it would be. I do know this: within two hours, my table looked like it had been custom-designed by an interior decorator.[1]
Peel and stick wallpaper on furniture is a revelation for anyone looking to revamp their home without a major renovation. Unlike traditional wallpaper, which requires paste, smoothing, and drying time, peel and stick comes with a self-adhesive backing that makes the process clean, fast, and almost foolproof. I've used it on everything from bookshelves to coffee tables, and each time, I've been amazed by how much of a transformation it brings—without the cost or disruption of a full furniture overhaul.[2]
The best part about using peel and stick wallpaper on furniture is that it’s not just about the look. It’s about the practicality. I've had pieces of furniture that were scratched or stained, and instead of buying new ones, I simply covered them with a fresh, stylish pattern. It’s a low-cost, high-impact way to personalize your space, and I’ve found that the satisfaction of seeing an old piece of furniture reborn is unmatched. I’ve never looked back since my first project.[3]
Why You'll Love This DIY Upgrade
- Quick application—no paint or drying time required
- Affordable way to refresh old or damaged furniture
- Easy to remove and reapply if you change your mind
- Adds instant style and personality to any room
What You Need Before You Start
As of September 2026, to begin, I always start by gathering all the materials I’ll need. This includes the peel and stick wallpaper, a measuring tape, a utility knife, and a smoothing tool. I’ve found that having these items ready makes the process smoother and faster. I’ve also invested in a few extra rolls of wallpaper just in case I make a mistake or need a second piece.[4]
It’s important to make sure the furniture is completely clean and dry before you begin. I use a mild detergent and water to wipe down the surface, and then I let it dry completely. This step is crucial because any dirt or moisture on the surface can cause the wallpaper to peel or lift over time.
Once the furniture is clean and dry, I measure the surface to determine how much wallpaper I’ll need. I always measure twice to avoid underestimating the amount, which can lead to more trips to the store and added costs. I’ve learned that it’s better to have a little extra than not enough.
Invest in a quality smoothing tool. It makes a world of difference in how the wallpaper adheres and how smooth the final result looks.
Part of our Peel and stick vinyl wood plank flooring examples guide.
Choosing the Right Wallpaper
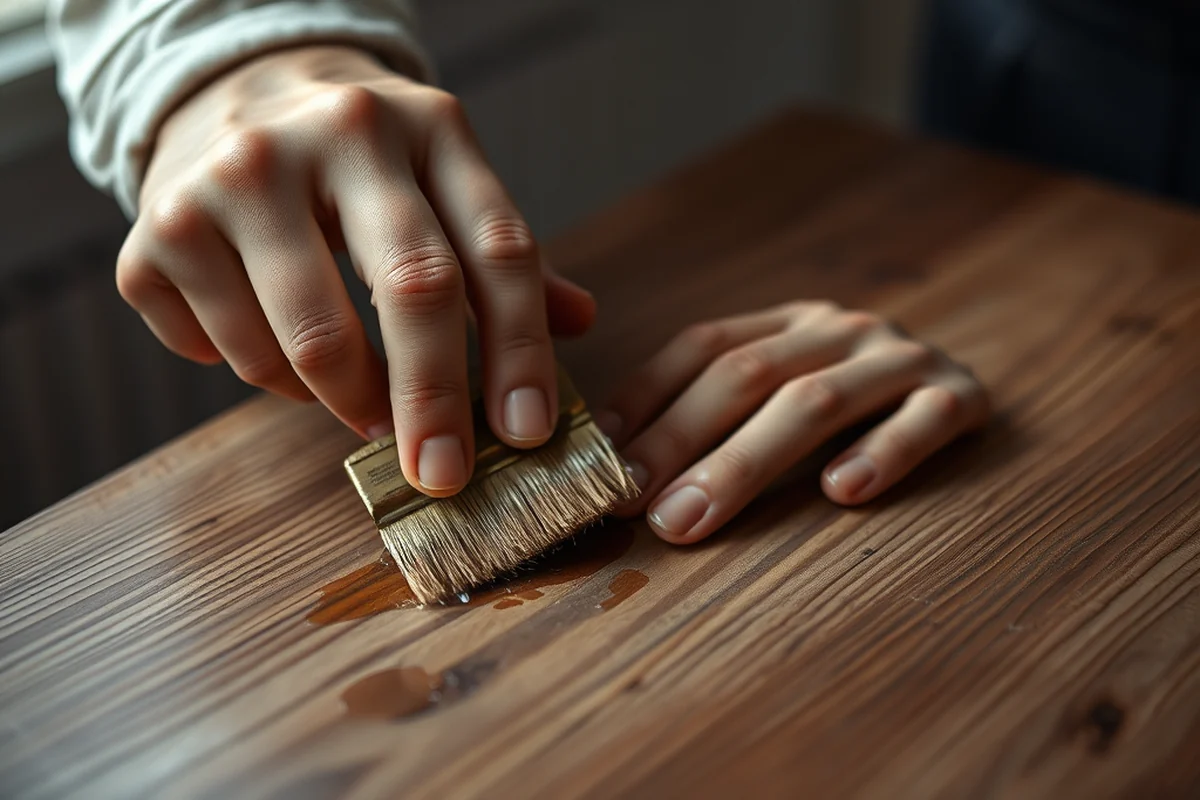
I’ve tried several different brands over the years, and the texture and thickness of the wallpaper can make a big difference in the final outcome. I’ve found that some wallpapers are more durable than others, and they hold up better on furniture that gets used a lot. For example, I once used a textured wallpaper on a coffee table, and it held up great even with regular use.
When choosing a wallpaper, I always consider the pattern and color. I’ve found that bold patterns can make a small room feel larger, while subtle, neutral tones can give a room a more cohesive look. I’ve also experimented with different textures, and I’ve found that a slightly rougher texture can add visual interest to a piece of furniture.
It’s also important to check the manufacturer’s instructions before you begin. I’ve learned that some wallpapers require a specific surface type or may not adhere well to certain materials. I’ve had to replace a few wallpapers because I didn’t read the instructions carefully enough.
Choose your wallpaper wisely—it can make or break your furniture transformation.
Related: Best vinyl plank flooring
Prep Your Furniture for Perfection
I always make sure the surface of the furniture is clean and free of any dust, dirt, or debris before I start applying the wallpaper. I use a damp cloth and a mild detergent to wipe the surface down, and then I dry it with a clean towel. This step is crucial because any dirt or residue can cause the wallpaper to lift or peel over time.
If the furniture is glossy, I use a fine-grit sandpaper to roughen the surface slightly. This helps the wallpaper adhere better and prevents it from peeling off. I’ve found that this step is especially important on furniture with a shiny lacquer finish. I’ve had to replace a few wallpapers in the past because I skipped this step, and they didn’t stick as well as I hoped.
Once the surface is clean and dry, I use a measuring tape to mark where the wallpaper will go. I always measure twice to make sure I don’t cut the wallpaper too short. I’ve learned that it’s better to have a little extra than not enough, especially if I’m working with a pattern that needs to align perfectly.
If your furniture is glossy, use sandpaper to roughen the surface. This ensures the wallpaper sticks properly and lasts longer.
“I remember the first time I tried to peel and stick wallpaper on an old, dented side table.”— Peel and Stick Wood Flooring editors
Related: Peel stick wall panels
Applying the Wallpaper with Precision
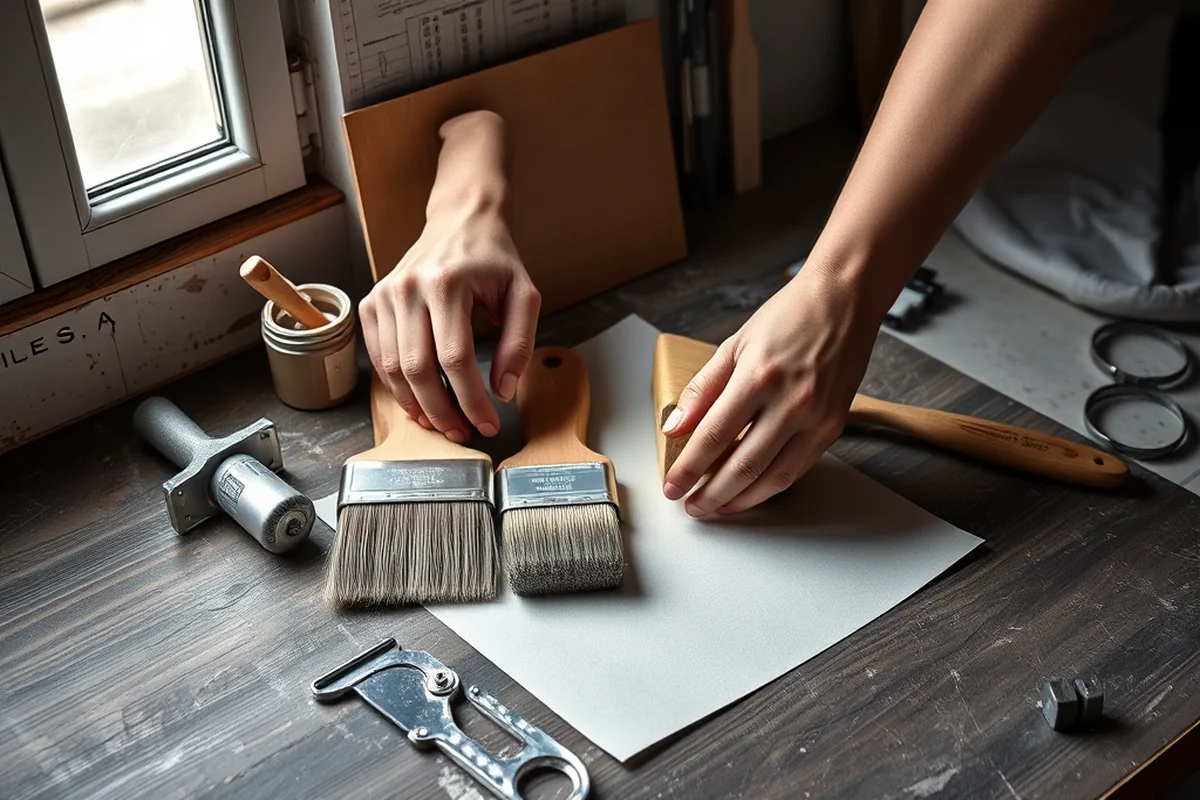
Once I’ve prepared the furniture and cut the wallpaper to size, I begin applying it carefully. I start by peeling the backing off the wallpaper and then pressing it onto the furniture. I use a smoothing tool to press the wallpaper down and remove any air bubbles or wrinkles. I’ve found that taking my time with this step is essential to achieving a clean, even finish.
I always work from the center of the furniture outward, making sure the wallpaper is aligned properly. I’ve learned that it’s easier to adjust the wallpaper while it’s still on the backing than after it’s been applied. I’ve had to redo a few sections of wallpaper in the past because I was too hasty with the application.
After applying the wallpaper, I use the smoothing tool to press it firmly into place. I’ve found that this step helps the wallpaper adhere better and ensures that it doesn’t lift or peel over time. I’ve also learned that it’s important to work quickly, as the adhesive on the wallpaper can dry out if left too long.
Related: Luxury vinyl plank flooring
Finishing Touches for a Flawless Look
After applying the wallpaper and pressing it down, I use a utility knife to trim any excess around the edges. I’ve found that this step is essential for achieving a clean, sharp look. I’ve had to redo a few pieces of furniture in the past because I skipped this step, and the edges looked messy.
I also use a small brush to apply a thin layer of adhesive to the edges of the wallpaper. This helps the edges stick better and prevents them from lifting over time. I’ve found that this step is especially important on furniture with sharp corners or edges.
Finally, I give the furniture a quick wipe with a clean, damp cloth to remove any excess adhesive or dust. I’ve learned that this step helps the wallpaper look smoother and more professional. I’ve also found that it’s important to let the wallpaper dry completely before using the furniture again.
Related: Peel and stick wallpaper green
Caring for Your New Wallpaper Finish
Once the wallpaper is applied and the furniture is ready to use, I make sure to take care of it properly. I’ve found that using a soft, dry cloth to wipe the surface is the best way to keep it looking clean and fresh. I’ve also learned that avoiding harsh chemicals or abrasive cleaners is essential to prevent the wallpaper from peeling or lifting.
If the wallpaper gets dirty, I use a mild detergent and water to clean it. I’ve found that this method works well for most types of wallpaper, but I always check the manufacturer’s instructions first. I’ve had to replace a few pieces of wallpaper in the past because I used the wrong cleaning solution, and it damaged the surface.
I’ve also learned that it’s important to avoid exposing the wallpaper to excessive heat or moisture. I’ve had to replace a few pieces of wallpaper because they were exposed to direct sunlight or humidity, which caused them to warp or peel over time. I’ve found that moving the furniture to a cooler, drier spot can help extend the life of the wallpaper.
Take care of your wallpaper, and it will take care of you.
Related: Peel and stick wallpaper for furniture
Removing and Reapplying Wallpaper
One of the best things about peel and stick wallpaper is that it’s easy to remove and reapply. I’ve used this feature several times over the years, and each time, I’ve been impressed by how well it works. I’ve found that the wallpaper comes off cleanly without leaving any residue, which is a huge plus.
When I want to remove the wallpaper, I simply use a utility knife to lift a corner and then peel it off slowly. I’ve learned that it’s best to work in sections to avoid tearing the wallpaper. I’ve had to replace a few pieces in the past because I was too aggressive with the removal process.
Once the wallpaper is removed, I can easily reapply it to the same furniture or a new piece. I’ve found that the adhesive on the wallpaper still works well after being removed, which makes it a great option for people who want to experiment with different designs.
💰 Budget Build
Use basic materials and focus on simple, affordable patterns to achieve a fresh look without spending a lot.
⏰ Weekend Version
Dedicate a single day to transforming your furniture with peel and stick wallpaper, and enjoy the results by the end of the day.
✨ Upgraded Finish
Invest in higher-quality materials and advanced tools to achieve a professional, polished look.
🛋️ Small-Space Adaptation
Choose compact furniture and subtle patterns to maximize space while adding style.
🏠 Rental-Safe Option
Use removable peel and stick wallpaper that won’t damage furniture or leave residue, perfect for temporary setups.
| The mistake | Why it happens | The fix |
|---|---|---|
| Applying wallpaper to a wet or dirty surface | This can cause the wallpaper to peel or lift over time. | Always clean the furniture thoroughly and let it dry completely before applying the wallpaper. |
| Skipping the sanding step on glossy surfaces | The wallpaper may not adhere properly and may not last as long as intended. | Use a fine-grit sandpaper to roughen the surface, especially on glossy furniture. |
| Applying the wallpaper too quickly | This can lead to air bubbles or wrinkles that are difficult to remove later. | Take your time to press the wallpaper down evenly and smooth out any bubbles or wrinkles. |
| Using the wrong cleaning products on the wallpaper | Some cleaning products can damage the wallpaper or cause it to peel. | Use a soft, damp cloth and a mild detergent to clean the wallpaper, and always check the manufacturer’s instructions first. |
How To Peel And Stick Wallpaper On Furniture
Common Questions
Can I apply peel and stick wallpaper on furniture with a glossy finish?
How long does it take to apply peel and stick wallpaper on a piece of furniture?
Can I use peel and stick wallpaper on a piece of furniture that’s already painted?
Is it possible to remove peel and stick wallpaper without damaging the furniture?
References
- The City of Apache Junction Home Maintenance Manual INDOOR AIR (apachejunctionaz.gov)
- Prohibited Items | Barnard College (barnard.edu)
- Dorm Design Tips from BU and Professional Design Experts (bu.edu)
- SALVAGE AND RESTORATION HINTS - Charleston-sc.gov (charleston-sc.gov)
Cite this guide
Peel and Stick Wood Flooring (2026). How To Peel And Stick Wallpaper On Furniture. https://peelandplank.com/how-to-peel-and-stick-wallpaper-on-furniture/
Feel free to cite or share this guide.