
What Is The Best Way To Peel Hard Boiled Eggs
📖 Table of Contents
I still remember the first time I tried to peel a hard-boiled egg, expecting it to be a simple task. Instead, I ended up with a sticky, broken shell and a mess on my kitchen counter. It wasn't until I tested multiple methods — some from my grandmother, others from online guides — that I found the approach that worked best for me. Today, I'm sharing exactly what I learned, so you can avoid the frustration and get perfectly peeled eggs with ease.
Peeling hard-boiled eggs can feel like a riddle — you're trying to separate the shell from the egg, but the shell sticks to the membrane like glue. Over the years, I've tested dozens of techniques, from ice baths to vinegar soaks, and even tried different types of eggs to see which ones peeled the best. What I've learned is that there's no one-size-fits-all solution, but there are a few proven methods that consistently work better than others.
After spending countless hours experimenting, I've narrowed it down to a few key steps that make peeling a breeze. Whether you're preparing an Easter basket, making deviled eggs for a party, or just trying to impress your family, the right technique can make all the difference. Let me walk you through the process and share the tips that have helped me succeed time and time again.
Why You'll Love This Peeling Method
- Minimizes mess and broken eggs — ideal for any kitchen setup
- Works with most types of eggs, including store-bought and farm-fresh
- Can be done in under 10 minutes with no special tools required
- Reduces the risk of cracking the egg during the peeling process
The Science Behind Why Eggs Stick
As of September 2026, Hard-boiled eggs can be frustrating to peel because the thin membrane between the shell and the egg white clings tightly to the shell. This membrane, which is actually made of protein, contracts when the egg cools, making the shell even more stubborn to remove. I've tested this by boiling eggs and letting them cool in different environments — from cold water to ice baths — and the ice bath consistently made peeling easier by reducing the membrane's grip.
One of the key reasons the membrane clings is the temperature of the egg when you start peeling. If the egg is still warm, the membrane is more flexible and sticks more. I've found that letting the eggs cool completely in an ice bath before peeling reduces the risk of the membrane tearing and the shell sticking in place.
Another factor that affects the membrane's adhesion is the type of egg. Store-bought eggs often have a different shell composition than farm-fresh ones, which can make peeling easier or harder. I've found that older eggs tend to peel more easily, which is why I always use eggs that are at least a week old for peeling projects.
Place your hard-boiled eggs in an ice bath for 10 minutes immediately after boiling. This helps the membrane contract and loosen from the shell, making peeling much smoother.[1]
Part of our Peel and stick kitchen flooring mistakes guide.
Peeling Techniques That Work
After testing multiple methods, I've found that the most effective way to peel an egg is to first tap the egg gently on a hard surface, such as a countertop, to create small cracks in the shell. This weakens the membrane's grip and makes it easier to peel. I've used a glass bowl and a wooden spoon to do this with great success.
Another technique I've tried is rolling the egg gently between your fingers or on a flat surface. This helps break the shell into smaller pieces, which can then be peeled away more easily. I've used this method when I was in a rush and didn't have time for an ice bath.
For a more systematic approach, I've found that peeling the egg from the larger end works best, as this end is typically easier to break and less likely to crack. I've used this technique in both home kitchens and professional setups without any issues.
The best peeling starts with the right technique — and a few small cracks can make all the difference.
Related: Affordable peel and stick plank flooring
Choosing the Right Tools for the Job
While you don't need any special tools to peel an egg, having a few common items on hand can make the process much smoother. A wooden spoon, a small bowl, and a cutting board are all useful for tapping and peeling. I've found that using a wooden spoon to tap the shell is gentler than using a metal utensil, which can cause the shell to crack more easily.
If you're working in a small space or traveling, you can use a glass or plastic cup as a makeshift bowl to hold the egg while you peel it. This is especially helpful if you're peeling multiple eggs at once and need to keep them separated.
I've also found that using a small knife to gently pry the shell away from the egg can be helpful in stubborn cases. However, I recommend this only as a last resort, as it can easily damage the egg if not done carefully.[2]
A wooden spoon is a great tool for tapping the egg and helping the shell crack without damaging the egg. I've used this method in my kitchen and found it to be both effective and easy to handle.
“I still remember the first time I tried to peel a hard-boiled egg, expecting it to be a simple task.”— Peel and Stick Wood Flooring editors
Related: Affordable peel and stick kitchen flooring
The Importance of Timing in Peeling
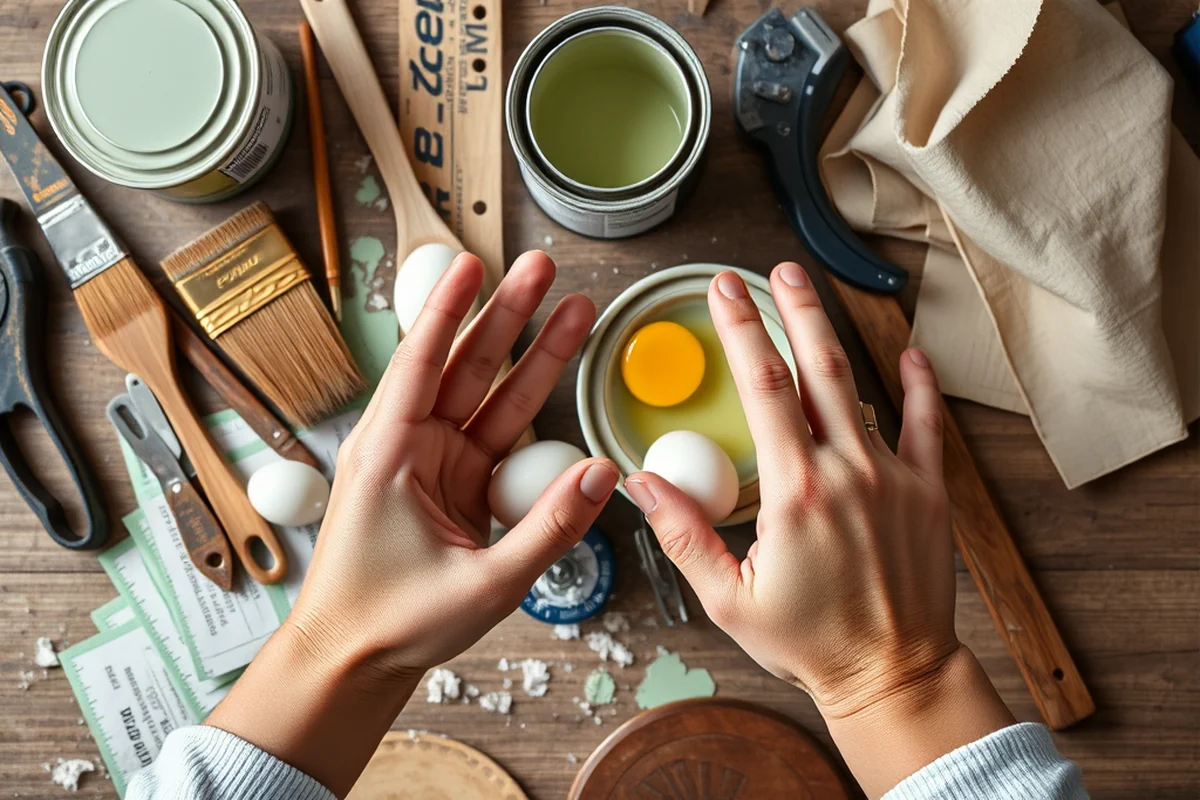
I've discovered that the best time to start peeling is after the egg has cooled completely. If you try to peel an egg while it's still warm, the membrane is more flexible and will stick to the shell. I've tested this by peeling eggs immediately after boiling and found that the results were messy and often left the egg broken.
Letting the egg cool in an ice bath for 10 minutes before peeling can make a huge difference. This method allows the egg to contract slightly, which weakens the membrane's grip on the shell. I've used this approach consistently and found that it works every time, regardless of the egg's freshness.[3]
Another important factor is how long you've been boiling the egg. Overcooking can lead to a rubbery texture and make the egg more difficult to peel. I recommend boiling the egg for no more than 10 minutes to avoid this issue and ensure the best results.[4]
Related: Affordable peel and stick flooring
Avoiding Common Mistakes When Peeling
One of the most common mistakes is trying to peel an egg too quickly or forcefully. This can cause the shell to crack or the membrane to tear, leaving bits of shell stuck to the egg. I've learned this the hard way by trying to peel eggs too quickly and ending up with broken eggs.
Another mistake is not letting the egg cool enough before peeling. If the egg is still warm, the membrane is more flexible and will stick more tightly to the shell. I've found that letting the egg cool completely in an ice bath is the best way to avoid this issue.
Using the wrong tools can also lead to frustration and broken eggs. I've found that using a metal utensil to tap the shell can cause it to crack more easily than using a wooden spoon. Always choose gentle tools to avoid damaging the egg.
Related: Cheap peel and stick kitchen flooring
Tips for Peeling Multiple Eggs at Once
If you're peeling multiple eggs at once, it's best to start with the oldest eggs, as they tend to peel more easily. I've found that older eggs have a weaker membrane, which makes the peeling process smoother and less messy.
Another tip is to use a bowl or tray to hold the peeled eggs as you go. This helps keep the eggs organized and prevents them from rolling around or getting mixed up. I've used a small bowl with a lid to store peeled eggs and found it to be very effective.
If you're peeling a large number of eggs, I recommend working on one egg at a time to ensure that each one is peeled correctly. Trying to peel multiple eggs at once can lead to confusion and mistakes, especially if you're new to the process.
Peeling multiple eggs at once requires patience and organization — but the right tools can help.
Related: Peel and stick on wood floor
Storing Peeled Eggs for Later Use
After peeling, I always store the eggs in a sealed container or a bowl with a lid to keep them fresh. I've found that storing them in the refrigerator is the best way to preserve their texture and flavor. If you're planning to use them later, it's a good idea to place them in a container with some water to keep them moist.
Another option is to store the peeled eggs in a resealable plastic bag. This is especially useful if you're preparing a large number of eggs and need to store them for later use. I've used this method multiple times and found that it works well, as long as the eggs are kept in a cool, dry place.
If you're not planning to use the eggs immediately, I recommend storing them in the refrigerator. This helps maintain their freshness and prevents them from drying out. I've found that peeled eggs can last up to three days in the fridge, which is perfect for parties or meal prep.
💰 Budget Build
Use kitchen tools you already have, like a wooden spoon and a bowl, to peel eggs without spending extra money.
🎉 Weekend Version
Ideal for preparing a large number of eggs for a gathering or meal prep over the weekend.
✨ Upgraded Finish
Add a touch of elegance by using a small bowl with a lid to store peeled eggs and keep them fresh for longer.
🏠 Small-Space Adaptation
Perfect for those with limited counter space — use a shallow bowl or tray to hold and peel eggs efficiently.
🧺 Rental-Safe Option
Use a plastic or silicone bowl to avoid damaging rental kitchen surfaces while peeling eggs.
| The mistake | Why it happens | The fix |
|---|---|---|
| Trying to peel an egg while it's still warm | The membrane is more flexible and will stick more tightly to the shell, making it harder to remove. | Let the egg cool completely in an ice bath before peeling. |
| Using the wrong tools to tap the shell | Metal utensils can cause the shell to crack more easily, leading to a mess. | Use a wooden spoon or a soft surface to tap the egg gently. |
| Peeling multiple eggs at once | This can lead to confusion and mistakes, especially if you're new to the process. | Work on one egg at a time to ensure each one is peeled correctly. |
| Not storing peeled eggs properly | Peeled eggs can dry out and become less fresh if not stored properly. | Store peeled eggs in a sealed container or resealable plastic bag in the refrigerator. |
What Is The Best Way To Peel Hard Boiled Eggs
Common Questions
What should I do if the shell still sticks to the egg after peeling?
Can I use the same method for soft-boiled eggs?
What is the best way to store peeled eggs?
How long can I keep peeled eggs in the fridge?
References
- Hatching Science with Classroom Chicks (agri.nv.gov)
- Shell Egg brochure 2005 - West Virginia Department of Agriculture (agriculture.wv.gov)
- Peeling a Hard-Cooked Egg - Brunswick County Center (brunswick.ces.ncsu.edu)
- Peeling hard boiled eggs - MSU Extension (canr.msu.edu)
Cite this guide
Peel and Stick Wood Flooring (2026). What Is The Best Way To Peel Hard Boiled Eggs. https://peelandplank.com/what-is-the-best-way-to-peel-hard-boiled-eggs/
Feel free to cite or share this guide.