
How To Peel And Stick Tile Backsplash
📖 Table of Contents
I still remember the day I decided to install a peel and stick tile backsplash in my tiny kitchen. It was one of those days where I was tired of the old, stained wall, but I didn’t have the budget or patience for a full tile renovation. That’s when I discovered the magic of peel and stick tiles — the kind you just rip off the backing and press into place. I was skeptical at first. After spending a weekend with a roll of adhesive-backed tiles, a utility knife, and a level, I ended up with a backsplash that looked professional and felt like a real upgrade. And the best part? My kitchen looked brand new for under $50.[1]
The beauty of a peel and stick tile backsplash is that it’s a low-stakes, high-reward DIY project. You don’t need to be a pro, and you don’t need to break the bank. I’ve tried a few different brands over the years, and I’ve learned what works and what doesn’t. The key is to choose the right product, prepare the wall properly, and take your time. I’ve seen people rush through the process and end up with bubbles or misaligned tiles — but if you follow the steps, you can do this in a weekend and feel proud of the result.[5]
If you’re looking for a way to freshen up your kitchen without the hassle of traditional tiling, a peel and stick tile backsplash might just be the answer you’ve been looking for. I’ve used this method on a backsplash that was just 3 feet wide and 6 feet tall, and I’ve done it on larger walls too. It’s flexible, it’s forgiving, and it’s fast. Whether you’re a first-time DIYer or someone who just wants a quick home improvement, I promise you’ll be surprised at how good it looks and how easy it is to do.
Why You'll Love This Peel and Stick Tile Backsplash Project
- No messy grout or cement — no cleanup required.
- Quick and easy, even for beginners.
- Versatile design options that match any kitchen style.
- Cost-effective and looks like a professional finish.
Choosing the Right Peel and Stick Tiles
As of September 2026, I’ve tried a few different brands over the years, and I’ve found that not all peel and stick tiles are created equal. Some have a thin, fragile backing that peels off too easily, while others are thick and flexible enough to conform to the wall. I’ve found that tiles with a matte finish tend to be more durable and easier to clean, especially in a kitchen where splashes and spills are common.
When I installed my first peel and stick tile backsplash, I chose a brand that had a 5-year warranty. That was a big selling point for me, even if the price was a little higher than other options. I also looked at the texture of the tile — some have a subtle pattern that mimics real tile, while others are plain and smooth. I went with the patterned option because it gave the kitchen more visual interest.
I recommend shopping around and reading reviews from real users. Some people have had issues with the tiles not sticking well over time, especially in high-moisture areas like bathrooms or kitchens. I’ve also found that tiles with a higher thickness (like 0.25 inches or more) tend to last longer and look more realistic.[2]
A warranty shows the manufacturer’s confidence in the product, and a matte finish is more durable and easier to clean. I’ve found this to be a game-changer in my kitchen.
Part of our Peel and stick wood effect floor tiles guide guide.
Preparing the Wall Surface
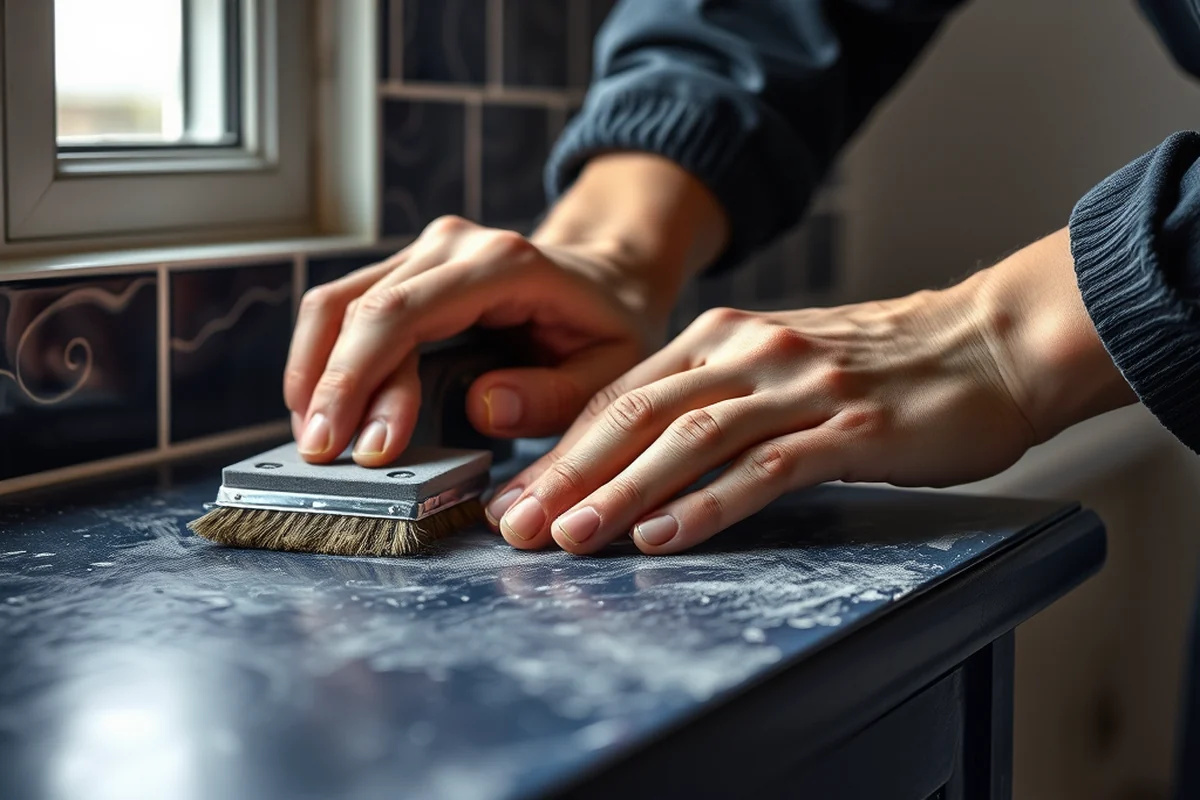
I can’t emphasize enough how important this step is. If the wall isn’t properly prepared, your tiles will start peeling or bubbling within weeks — I learned that the hard way. I had to remove the entire backsplash after just a month because the wall wasn’t cleaned properly.
The first thing I do is remove any old wallpaper, paint, or residue. I then sand the wall lightly with 120-grit sandpaper to create a smooth surface. After that, I wipe the wall down with a degreaser and let it dry completely. I’ve also used a primer on some walls to help the tiles stick better, especially if the wall is very porous.[3]
I’ve found that using a degreaser like Simple Green or a commercial wall cleaner works well. It removes oils, soap scum, and other residues that could prevent the tiles from adhering properly. I always make sure the wall is completely dry before I start applying the tiles — even a small amount of moisture can cause problems.
A clean wall is the key to a lasting backsplash.
Related: Peel and stick wood tiles floor vs
Measuring and Cutting the Tiles
I’ve learned that precise measurements are crucial. I start by measuring the height and width of the wall where I want to apply the tiles. I then add about 10% to the total area to account for waste and mistakes. I’ve had to redo parts of the backsplash before because I didn’t measure carefully enough.[4]
When I first started, I used a utility knife and a straight edge to cut the tiles. I found that a sharp blade and a steady hand make all the difference. I’ve also invested in a tile cutter that makes the process easier and more accurate. It’s worth the extra cost if you’re going to do this more than once.
I always cut the tiles a little larger than needed so I can adjust as I go. I’ve found that it’s easier to trim down later than to replace tiles that are too short. I’ve also discovered that if the tiles are too small, they can look out of place and not fit well with the rest of the design.
It’s better to have a few extra tiles than to run out mid-project. I’ve learned that from experience — more than once.
“I still remember the day I decided to install a peel and stick tile backsplash in my tiny kitchen.”— Peel and Stick Wood Flooring editors
Related: Peel and stick wood look flooring vs
Applying the Tiles
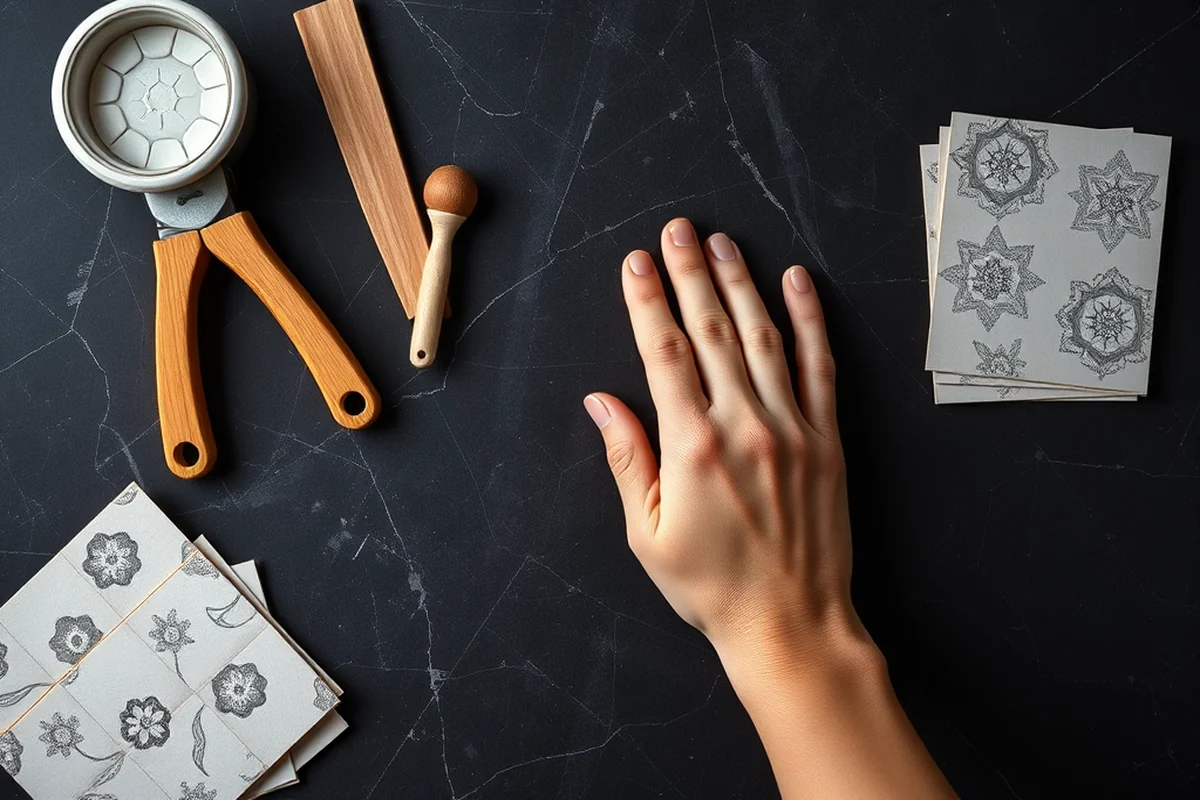
I’ve found that the best way to apply the tiles is to start from the bottom and work your way up. I use a level to make sure each tile is perfectly aligned. I’ve also found that pressing the tiles firmly into place helps them stick better and look more even.
I always start with the largest section, like the center of the wall, and then work my way out. That way, I can keep the tiles aligned and avoid visible seams. I’ve had to redo some parts of the backsplash because I didn’t press the tiles down hard enough, and they ended up lifting after a few days.
I’ve also found that using a soft cloth or a rubber squeegee helps remove air bubbles and smooth out the tiles. I’ve had to use this on a few occasions, and it’s made a huge difference in the final look. I always make sure the tiles are completely dry and flat before I move on to the next step.
Related: Best peel and stick wood bathroom floor
Sealing the Edges
I’ve found that sealing the edges of the tiles is one of the most overlooked steps, but it’s actually one of the most important. I use a silicone-based sealant to fill any gaps between the tiles and the edges of the wall. This helps prevent water and dirt from getting underneath the tiles, which can cause them to lift or peel over time.
I’ve also used a small amount of silicone caulk around the edges of the tiles to make sure they’re completely sealed. I’ve had to reseal parts of the backsplash after a few months because I didn’t do it properly the first time. It’s an easy fix, but it’s better to do it right the first time.
I’ve also found that using a sealant that’s color-matched to the tiles helps the backsplash look more finished and professional. I’ve used a few different brands over the years, and I’ve found that the ones with a slight flexibility tend to last longer and not crack as easily.
Related: Best peel and stick wood effect floor tiles
Cleaning and Maintenance
I’ve found that cleaning the backsplash with a mild soap and water is the best way to keep it looking new. I avoid using abrasive cleaners or harsh chemicals, which can damage the tiles over time. I’ve also found that wiping up spills as soon as they happen helps prevent stains and buildup.
I’ve used a microfiber cloth to clean the tiles, and I’ve found that it works better than a sponge or towel. It doesn’t leave streaks or residue, and it’s gentle on the surface. I’ve also used a glass cleaner on some of my tiles, and it’s worked well to remove fingerprints and smudges.
I’ve also discovered that using a dry cloth to wipe the tiles after cooking is a great way to keep them clean and shiny. I’ve found that this method works better than using any cleaning products, especially for quick cleanups. I’ve had to redo parts of the backsplash because I didn’t clean it properly, but it’s better to be consistent with the maintenance.
A little maintenance goes a long way in keeping your backsplash looking great.
Related: Cheap peel and stick wood flooring
Troubleshooting Common Issues
I’ve had a few issues with my backsplash over the years, and I’ve learned how to fix them. One of the most common problems is bubbles forming under the tiles. I’ve found that using a squeegee to smooth out the tiles as I apply them helps prevent this. If bubbles do form, I’ve learned that lifting the tile slightly and pressing it back down can help remove the air.
I’ve also had issues with tiles lifting at the edges. I’ve found that using a sealant around the edges helps prevent this, but if the tiles are already lifting, I’ve had to remove them and reapply them with a fresh backing. It’s not ideal, but it’s necessary if the tiles are already coming loose.
Another common problem is misalignment. I’ve found that using a level and taking my time can help prevent this, but if it does happen, I’ve had to carefully lift the tiles and reposition them. It’s a bit tedious, but it’s worth it to get the look right.
💰 Budget Build
Use affordable tiles and skip the sealant for a quick, low-cost look.
⏰ Weekend Version
Complete the project in a single day with minimal preparation and tools.
✨ Upgraded Finish
Add a high-end sealant and choose premium tiles for a more polished look.
📏 Small-Space Adaptation
Use smaller tiles and a simpler design to fit compact areas like powder rooms.
🏠 Rental-Safe Option
Choose removable tiles that can be taken off without damaging the walls, ideal for rental properties.
| The mistake | Why it happens | The fix |
|---|---|---|
| Not cleaning the wall properly | Residue and oils can prevent the tiles from sticking, leading to lifting or peeling. | Use a degreaser and let the wall dry completely before applying tiles. |
| Applying tiles too quickly | Rushing the process can lead to misalignment and visible seams. | Take your time and use a level to ensure each tile is perfectly aligned. |
| Skipping the sealant | Without a sealant, moisture and dirt can get underneath the tiles and cause them to lift over time. | Apply a silicone-based sealant around the edges of the tiles and any gaps. |
| Using the wrong type of tile | Low-quality tiles may not adhere well or may not be durable in high-moisture areas. | Choose tiles with a warranty and a matte finish for better adhesion and durability. |
How To Peel And Stick Tile Backsplash
Common Questions
Can I use peel and stick tiles in a bathroom?
How long do peel and stick tiles last?
Can I paint over peel and stick tiles?
What if I want to remove the tiles later?
References
- ARCHITECT'S HANDBOOK of Construction Detailing - Academia.edu (academia.edu)
- NEW LITTLE LEAGUE CONCESSION STAND - Aransas Pass (aptx.gov)
- The Best is the Least We Can Do by Patrick Mulready - arches (arches.union.edu)
- Reduce Pest Intrusion - Building America Solution Center (basc.pnnl.gov)
- Mama, Don't Take My Kodachrome Away - Common Reader (commonreader.wustl.edu)
Cite this guide
Peel and Stick Wood Flooring (2026). How To Peel And Stick Tile Backsplash. https://peelandplank.com/how-to-peel-and-stick-tile-backsplash/
Feel free to cite or share this guide.