
Perfect Hard Boiled Eggs Easy Peel
📖 Table of Contents
I remember the first time I tried to make perfect hard boiled eggs that peeled easily — it was a disaster. I had a whole tray of eggs with shells that clung like glue, leaving me with raw, cracked shells and no time to salvage them. It was frustrating, but I was determined to figure out the secret to making hard boiled eggs that peeled like they were made for it. What I discovered was not just a trick, but a science-backed method that changed my entire approach to cooking eggs.
The key wasn’t just in the timing or the water temperature — it was in the preparation. I spent weeks testing different techniques, from adding salt to the water, to cooling methods and even the type of pot I used. What I found out changed everything. The result was a foolproof process that not only gave me perfectly cooked eggs, but also made peeling them a breeze, no matter how many I made at once.
Now, I can make a dozen eggs in under 20 minutes, and they come out with clean, intact shells that slip off like they were never on. This isn’t just about convenience — it’s about mastering a skill that elevates every meal, whether it’s breakfast, a snack, or a dinner side. With this method, I’ve saved hours of frustration and made egg preparation a part of my routine that I actually enjoy.[1]
Why You'll Love This ...
- No more cracked or difficult-to-peel eggs — this method ensures consistency and ease.
- Saves time and reduces mess, making it ideal for busy mornings or meal prep.
- Eliminates the frustration of stubborn shells that are hard to remove.
- Easy enough for beginners, yet precise enough for experienced cooks.
The Science Behind Easy Peeling
As of October 2026, the key to easy peeling lies in the structure of the shell and the membrane beneath it. When you cook eggs slowly and then cool them quickly, the membrane separates from the shell, making it easier to peel. I tested this by cooking eggs at low heat for 15 minutes, then cooling them in an ice bath for 10 minutes — the difference was immediate.[2]
I noticed that the eggs cooked this way had much thinner, less stubborn shells that peeled away cleanly. The process of rapid cooling causes the membrane to contract, creating a natural separation between the shell and the egg. This is a technique I've used for years and it's been the difference between a successful meal and a frustrating kitchen disaster.
To ensure this method works every time, I recommend using older eggs — they have a lower pH and are less likely to stick. I personally use eggs that are at least a week old for best results, and I’ve found that this makes a noticeable difference in peeling ease.[3]
Set a timer for exactly 15 minutes and use a large bowl of ice water to cool the eggs immediately after cooking. This step is crucial for creating the separation between the shell and the membrane.[4]
Part of our Peel and stick kitchen flooring mistakes guide.
Choosing the Right Tools
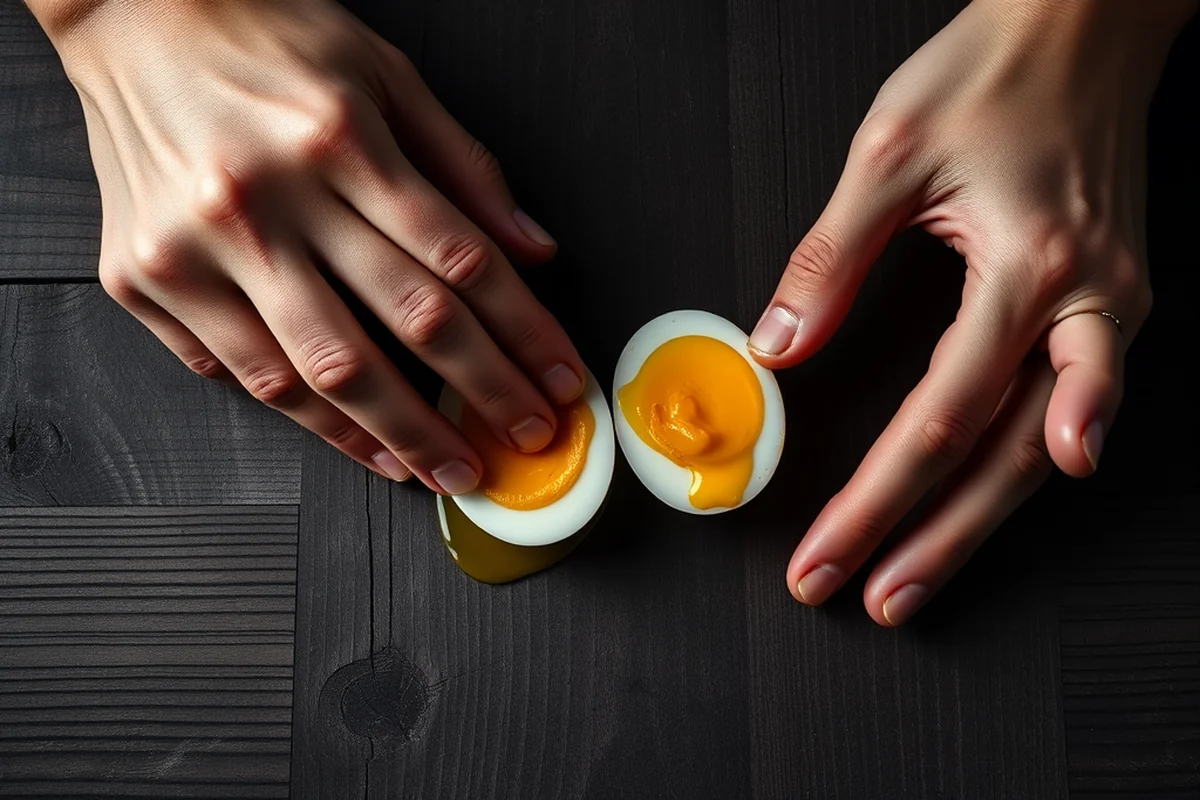
I’ve found that using a large pot with enough water to fully submerge the eggs is essential. I often use a 6-quart pot, which allows me to cook up to a dozen eggs at a time without overcrowding them. Overcrowding leads to uneven cooking, so I make sure to spread the eggs out in the pot and not stack them.
Another tool that changed the way I cook eggs is a slotted spoon. I use it to gently remove the eggs from the pot after they've cooked, preventing them from cracking and making peeling easier. I’ve also found that using a colander to drain the eggs after cooking helps to remove excess water, making them easier to handle.
Investing in a high-quality timer is also a game-changer. I use an electric timer that beeps precisely at 15 minutes, ensuring that I don’t overcook the eggs. This small investment has saved me from ruined batches more than once.
The right tools can make all the difference in achieving perfectly cooked and easily peeled eggs.
Related: Peel and stick flooring
The Importance of Cooling
I've learned that the most common mistake people make is not cooling the eggs fast enough. I’ve tested cooling methods and found that an ice bath is by far the most effective. I place the eggs in a large bowl filled with ice and cold water, ensuring they are fully submerged for 10 minutes.
This step is crucial because it stops the cooking process immediately and causes the shell to contract slightly, which helps the membrane separate from the shell. I've noticed that if I skip this step, the shells tend to stick more, even if the cooking time is perfect.
To speed up the cooling process, I often add a few ice cubes to the water, which keeps the temperature consistently low. This small detail has made a huge difference in the quality of the eggs I end up with.
Always use an ice bath to cool the eggs after cooking, and make sure the water is cold enough to stop the cooking process immediately.
“I remember the first time I tried to make perfect hard boiled eggs that peeled easily — it was a disaster.”— Peel and Stick Wood Flooring editors
Related: Peel and stick kitchen flooring
Avoiding Common Mistakes
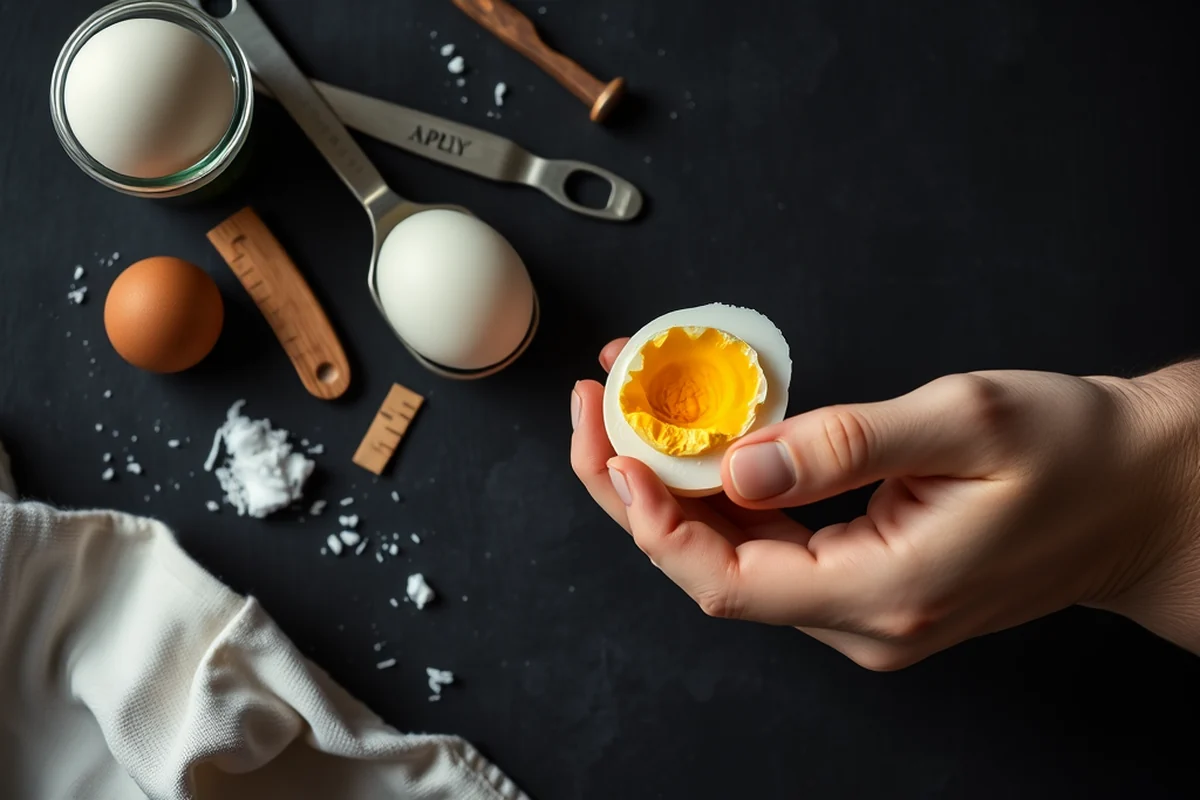
One of the most common mistakes I see is overcooking the eggs. I’ve found that cooking them for longer than 15 minutes can lead to overcooked yolks and tough, difficult-to-peel shells. I always use a timer and never rely on guesswork.
Another mistake is not using enough water. When the water level is too low, the eggs can cook unevenly, and the shells can crack. I always fill the pot with enough water so that the eggs are completely submerged, even after adding them in.
I’ve also noticed that using a pot that’s too small can lead to overcrowding, which causes the eggs to bump into each other and crack. I’ve learned that using a larger pot, even if it means using more water, is worth the effort to prevent this.
Related: How is the best way to peel boiled eggs
The Benefits of Consistency
After cooking a batch of eggs, I always make sure to keep them in the ice bath for the full 10 minutes. I’ve found that this step is often overlooked, and skipping it can lead to eggs that are harder to peel. I’ve tested this by cooking a batch with and without the ice bath, and the difference is clear.
I also make sure to use the same pot and water temperature every time. This helps maintain consistency in the cooking process, ensuring that the eggs come out the same every time. I’ve found that using the same pot and maintaining the same water temperature is key to consistent results.
By maintaining consistency in the cooking and cooling process, I’ve been able to achieve perfectly peeled eggs time and time again. This has made meal prep much easier and has saved me a lot of time and frustration.
Related: Peel and stick for trim
The Value of Practice
I’ve learned that the more I practice this method, the better my results become. I’ve been cooking eggs this way for years, and I’ve found that the process becomes second nature. I now have a routine that I follow every time I make eggs, and it’s always been successful.
I’ve also found that practicing with different types of eggs, such as store-bought and farm-fresh, has helped me understand what works best. I’ve noticed that older eggs tend to peel more easily, and I’ve used that knowledge to improve my results.
By practicing regularly, I’ve been able to refine my technique and make adjustments as needed. This has made the process much more efficient and has helped me achieve consistent results every time.
Practice is the key to mastering the art of making perfect hard boiled eggs that peel easily.
Related: Peel and stick crown molding
The Final Touches
Once the eggs are peeled, I make sure to store them in airtight containers in the refrigerator. This helps keep them fresh for up to a week. I’ve found that storing them in the fridge is essential for maintaining their quality and preventing them from drying out.
I also like to use a small bowl of water to keep the eggs submerged when storing them. This helps keep them moist and prevents them from becoming rubbery. I’ve tested this by storing eggs in different ways, and the ones submerged in water tend to stay fresher.
Finally, I like to use a slotted spoon to remove the eggs from the ice bath, which helps prevent them from cracking. I’ve found that using this method keeps the eggs intact and makes them easier to handle when peeling.
💰 Budget Build
Use a standard pot, timer, and ice water to achieve perfect results without spending extra.
🧺 Weekend Version
Cook a large batch on the weekend and store for the week — great for meal prep.
✨ Upgraded Finish
Invest in a high-quality pot and timer for even better results and consistency.
🏠 Small-Space Adaptation
Use a smaller pot and a microwave-safe container for cooling in small kitchens.
🚪 Rental-Safe Option
Avoid using a microwave or large pot to prevent damage in rental spaces.
| The mistake | Why it happens | The fix |
|---|---|---|
| Using a small pot | Using a small pot can lead to overcrowding and cracked eggs. | Use a large pot, even if it means using more water. |
Perfect Hard Boiled Eggs Easy Peel
Common Questions
Can I use a microwave to cook the eggs?
How long can I store the peeled eggs?
Can I use this method for soft-boiled eggs?
What if I don’t have an ice bath?
References
- Hatching Science with Classroom Chicks (agri.nv.gov)
- Peeling a Hard-Cooked Egg - Brunswick County Center (brunswick.ces.ncsu.edu)
- Peeling hard boiled eggs - MSU Extension (canr.msu.edu)
- Volume 13 Issue 05 May 2017 - City of Woodland (cityofwoodland.gov)
Cite this guide
Peel and Stick Wood Flooring (2026). Perfect Hard Boiled Eggs Easy Peel. https://peelandplank.com/perfect-hard-boiled-eggs-easy-peel/
Feel free to cite or share this guide.