
How To Apply Peel And Stick Wallpaper
📖 Table of Contents
- Preparation Is Key to a Flawless Finish
- Choosing the Right Wallpaper for Your Space
- Measuring and Cutting for Perfect Fit
- Applying the Wallpaper with Care
- Trimming and Finishing Touches
- Let It Set and Celebrate the Results
- Troubleshooting Common Issues
- Maximizing Adhesion with Temperature and Humidity Control
- Make It Your Way
- Frequently Asked Questions
I remember the first time I used peel and stick wallpaper in my living room — it was a Saturday morning. I was determined to give my space a fresh look without the mess and hassle of traditional wallpaper. The process was surprisingly simple, and within a few hours, I had transformed a tired wall into a vibrant, modern feature. I’ve since used this technique on several projects, and each time, I’ve been amazed at how much easier it is than I ever expected.
Peel and stick wallpaper is a game-changer for DIYers and furniture enthusiasts alike. It doesn’t require glue, doesn’t leave behind a mess, and can be applied in a matter of minutes. Whether you’re updating a rental, giving your home a seasonal refresh, or simply experimenting with new design ideas, this method is a low-effort, high-impact way to make your space feel new and exciting.
In this guide, I walk through the entire process of applying peel and stick wallpaper, from preparation to final touches. I’ve tested various brands and techniques myself, and I share the specific tools, steps, and tricks that made my projects succeed. If you’re new to this method, you’ll find this article both informative and easy to follow — and if you’ve already tried it, you might discover a few new tips that could make your next project even smoother.
Why You'll Love This DIY Project
- No messy glue or complicated installation — just peel and stick.
- Quick application that can be done in under an hour.
- Versatile design options that match any decor style.
- Easy to remove and reposition without damaging walls.
Preparation Is Key to a Flawless Finish
As of September 2026, before you even unroll your wallpaper, take the time to clean and smooth your walls. I’ve learned the hard way that skipping this step can lead to bubbling or peeling down the road. Use a mild detergent and water to wipe the surface, then dry it thoroughly with a clean cloth.
Next, check for any imperfections like cracks or bumps. If you find any, fill them with spackle and sand the area smooth. I always use a fine-grit sandpaper (around 220 grit) for the best results. This step is especially important if you're applying wallpaper to a textured wall.
Once the wall is clean and smooth, I recommend using a primer to help the wallpaper stick better. I’ve found that using a white, water-based primer works best for most peel and stick wallpapers. It also helps to make the colors pop more vividly.[1]
Use a mild, water-based detergent to clean the surface of your wall. Avoid using anything too harsh, as it can strip away paint or damage the wall’s texture.
Part of our Can you put peel and stick on wood floors ideas guide.
Choosing the Right Wallpaper for Your Space
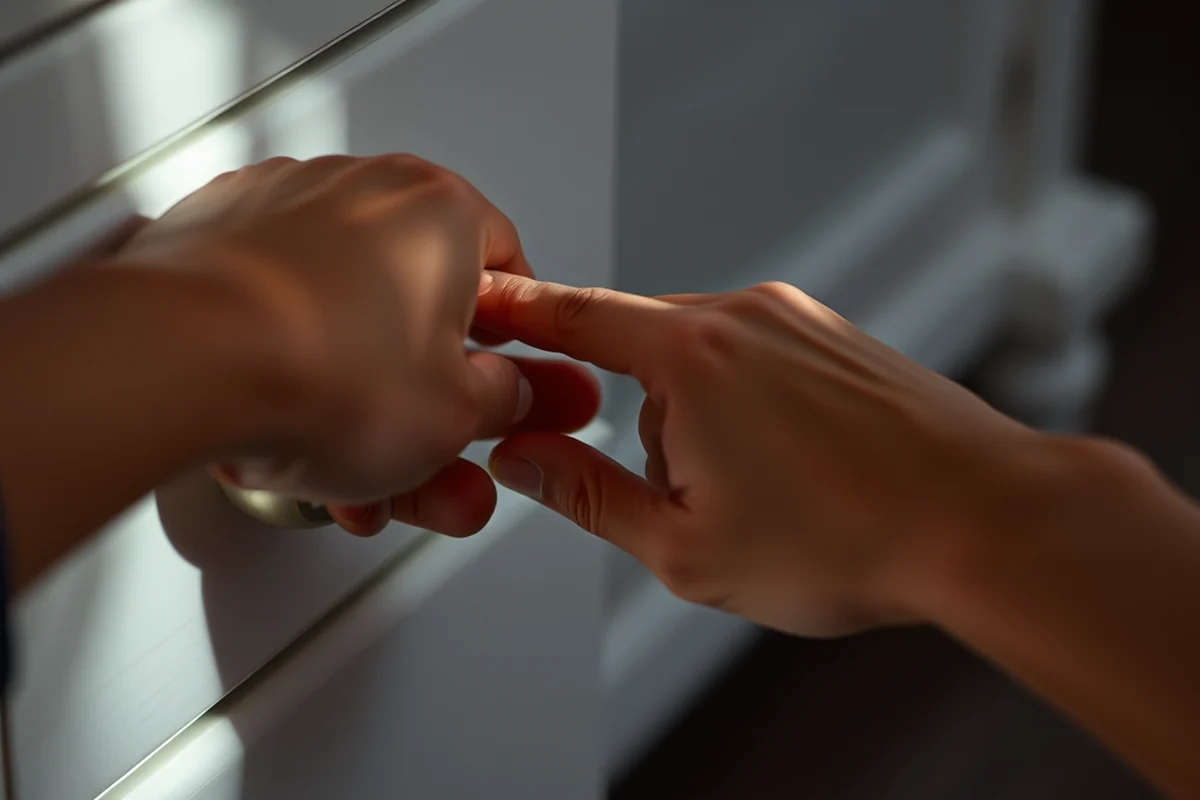
There are so many options with peel and stick wallpaper — from bold patterns to subtle textures. I always start by measuring the wall to know exactly how much I’ll need. This helps me avoid buying too much or not enough, which can be a pain later on.
I look for wallpapers with a matte or semi-gloss finish, as they tend to hold up better in rooms with more traffic. If I’m going for a design-heavy look, I’ll often go with a paper-backed option for a more authentic feel. I’ve found that vinyl-backed wallpapers are more durable and easier to clean.
It’s also important to consider the lighting in the room. I’ve had situations where a pattern looked great in natural light but faded or looked too intense under artificial lighting. I always test the wallpaper in the actual room before committing.
Choose a wallpaper that complements your space and holds up under daily use.
Related: How to peel and stick wallpaper a bathroom
Measuring and Cutting for Perfect Fit
Once I’ve chosen the wallpaper, I measure each wall carefully, making sure to account for any outlets or switches. I always measure twice and cut once — a rule I’ve followed for years with great success. This helps prevent mistakes that can be hard to fix later.
For larger walls, I use a level to ensure the wallpaper is aligned properly as I go. I’ve found that using a straight edge or a laser level is especially helpful when working with large, straight sections. It’s easy to get off track if you’re not careful.
When cutting the wallpaper, I use a sharp utility knife and a straight edge. This helps me get clean, precise edges that fit perfectly into place. I always cut a little extra — about 2 inches — so I can adjust as needed.
A laser level is a game-changer when aligning wallpaper on large walls. It helps you maintain straight lines and avoid crooked seams.
“I remember the first time I used peel and stick wallpaper in my living room — it was a Saturday morning, and I was determined…”— Peel and Stick Wood Flooring editors
Related: Peel and stick for roofing
Applying the Wallpaper with Care
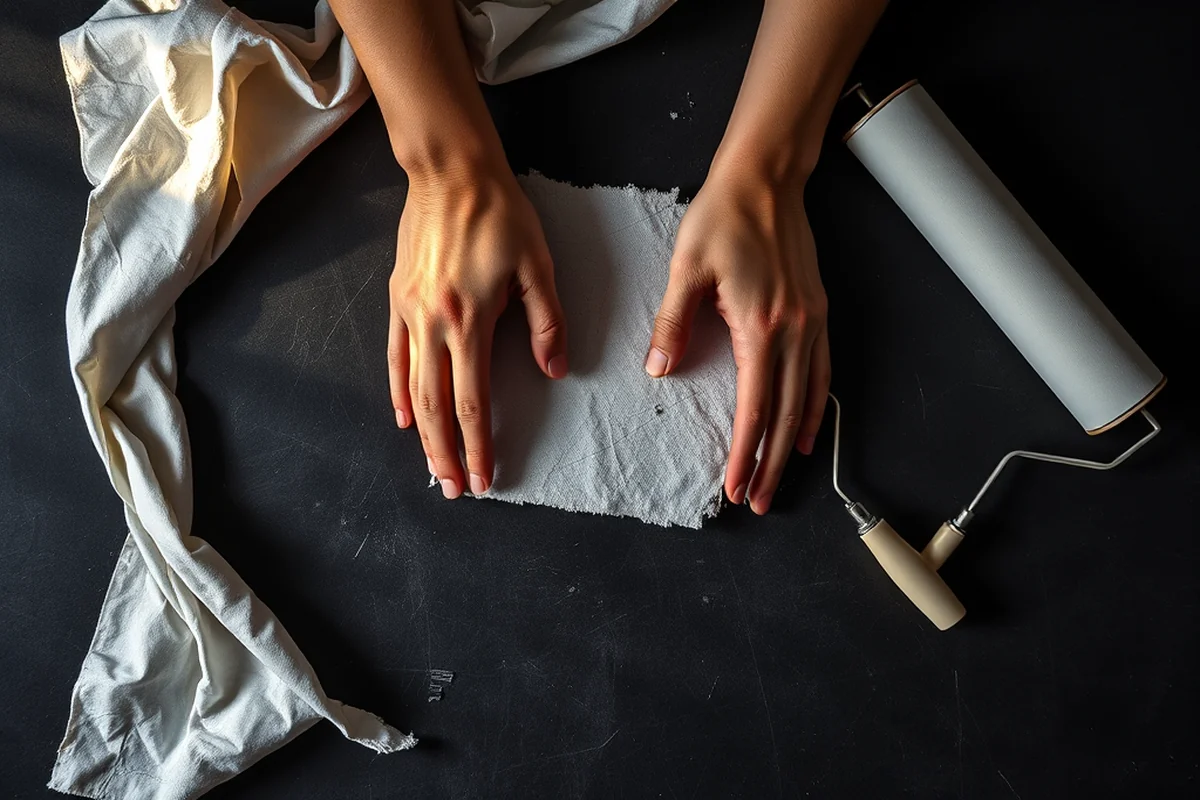
Start by unrolling the wallpaper on the floor and aligning it with the wall. I always begin at the top corner and work my way down. This gives me the most control and helps me avoid any mistakes.
I peel the backing off the wallpaper slowly, about a foot at a time, and press it onto the wall. I use my hands to smooth it out as I go, working from the center outward to avoid trapping air bubbles. It’s important to be gentle but firm to ensure a good bond.
If I notice any bubbles or wrinkles, I use a squeegee or a clean cloth to press them out. I’ve found that working quickly but carefully is the best approach — if you wait too long, the adhesive can dry and make the wallpaper harder to adjust.
Related: How to clean hardwood floors
Trimming and Finishing Touches
Once the wallpaper is applied, I use a utility knife to trim any excess along the edges. I go slowly and carefully, making sure not to cut too much. I’ve had to redo sections before because I trimmed too aggressively.
I also use a ruler to check the edges and make sure they’re even. This is especially important if I’m applying wallpaper in a room with multiple walls or if I want the look to be symmetrical.
After trimming, I take a step back and examine the wall from different angles. I’ve found that even the smallest imperfections can be distracting. If I see any, I make a note and fix them before moving on to the next section.
Related: Peel and stick wallpaper in a bathroom
Let It Set and Celebrate the Results
After applying the wallpaper, it’s important to let it sit for a few hours or even overnight. This gives the adhesive time to bond with the wall and prevents peeling or lifting later on. I’ve found that waiting a full day before touching it is the safest bet.
Once the wallpaper is fully set, I give the wall a final once-over. I check for any bubbles, wrinkles, or edges that might need trimming. This is also a great time to add any decorative elements like borders or trim if desired.
Finally, I step back and take in the transformation. I’ve always been amazed at how much a simple wallpaper can change the look and feel of a room. It’s a quick and affordable way to refresh your space without a major renovation.
A little patience makes all the difference in the final result.
Related: Peel and stick wall paper
Troubleshooting Common Issues
I’ve encountered a few common issues during my wallpapering projects, like bubbles and misalignment. If I notice bubbles, I gently press them out with a squeegee or a clean cloth. If they’re stubborn, I use a small amount of water to help the adhesive re-adhere properly.
Another issue I’ve had is misalignment. If the wallpaper is off-center, it’s easier to fix before the adhesive sets. I’ve learned that working slowly and carefully is the best way to avoid this problem.
Lastly, if the wallpaper starts to lift in certain areas, I check the wall for any imperfections or moisture. Sometimes, a small amount of water on the wall can cause the wallpaper to peel. Fixing these issues early can save a lot of time later.
Maximizing Adhesion with Temperature and Humidity Control
Before applying your wallpaper, ensure the room temperature is between 65°F and 75°F (18°C to 24°C). I once tried applying wallpaper in a room that was 80°F (27°C) and found that the adhesive didn’t set properly, leading to peeling after just a few days. High humidity can also cause the wallpaper to lift or bubble, so aim for a relative humidity of 40% to 60%. Using a hygrometer helped me track these levels accurately during a recent project.[2]
If the room is too cold, the adhesive may not activate fully, and if it’s too hot, the wallpaper can shrink or warp. I recommend acclimating the wallpaper rolls for 24 hours in the room where they will be applied to match the ambient conditions. This step is often overlooked but can make a significant difference in the final result.
During application, avoid using a space with direct sunlight or drafts, as these can cause uneven drying and affect the adhesive’s performance. I found that working in the early morning, when temperatures are cooler and more stable, yielded the best results. Taking the time to control these environmental factors can save you from costly mistakes and ensure your wallpaper looks perfect for years to come.
💰 Budget Build
Use affordable, no-frills peel and stick wallpaper and basic tools like a utility knife and squeegee.
⏰ Weekend Version
Complete the project in a single weekend with minimal preparation and quick application techniques.
✨ Upgraded Finish
Choose high-end, textured peel and stick wallpaper and use a laser level for precise alignment.
🛋️ Small-Space Adaptation
Use smaller, pre-cut wallpaper pieces for corners, backs of furniture, or accent walls.
🏠 Rental-Safe Option
Opt for removable, low-adhesive peel and stick wallpaper that leaves no residue when removed.
| The mistake | Why it happens | The fix |
|---|---|---|
| Skipping wall preparation | If the wall isn’t clean or smooth, the wallpaper may not stick properly and could peel or bubble over time. | Always clean and sand the wall before applying wallpaper. Use a primer if needed for better adhesion. |
| Not measuring accurately | Incorrect measurements can lead to wasted materials or a mismatched look. | Measure twice and cut once. Always allow for extra length to adjust as needed. |
| Applying too quickly | If you rush the process, you may end up with wrinkles, bubbles, or misaligned seams that are hard to fix later. | Take your time, work slowly, and use a squeegee or cloth to smooth out any imperfections as you go. |
| Using the wrong type of wallpaper | Some wallpapers are not suitable for certain rooms or conditions, such as high humidity or textured walls. | Choose a wallpaper that’s appropriate for the room and surface you’re working with. Test it in the space before committing. |
How To Apply Peel And Stick Wallpaper
Common Questions
Can I apply peel and stick wallpaper over existing wallpaper?
How long does peel and stick wallpaper last?
Can I use peel and stick wallpaper on a textured wall?
Do I need to use a primer on the wall?
References
- Project Manager's Guide to Material Reuse in Commercial Buildings (hennepincounty.gov)
- Standard Method for the Testing & Evaluation of VOC Emissions (cdph.ca.gov)
Cite this guide
Peel and Stick Wood Flooring (2026). How To Apply Peel And Stick Wallpaper. https://peelandplank.com/how-to-apply-peel-and-stick-wallpaper/
Feel free to cite or share this guide.