
Orange Peel Texture
📖 Table of Contents
- What Is Orange Peel Texture and How Does It Work?
- Why Choose Orange Peel Texture for Your Projects?
- How to Apply Orange Peel Texture Step by Step
- Materials and Tools You’ll Need
- Tips for Achieving the Perfect Texture
- How to Paint After Applying Orange Peel Texture
- Common Mistakes to Avoid When Creating Orange Peel Texture
- Make It Your Way
- Frequently Asked Questions
I remember the first time I noticed the subtle, pebbled look on my friend’s kitchen cabinets — it was called orange peel texture, and I had no idea how it was made. That evening, I scoured the internet, half-convinced it was some kind of magical finish only professional painters could achieve. But it turned out to be one of the simplest, most rewarding techniques I could try with my own tools. Orange peel texture isn’t just a visual flair; it’s a tactile experience that adds depth and character to surfaces. Whether you’re working on furniture, cabinets, or even a wall, this technique brings a handmade feel that can’t be replicated by any machine.
What makes orange peel texture so appealing is its versatility. It can be applied to wood, MDF, and even metal, giving a weathered or antique look without the need for complex tools or hours of labor. I’ve used it on everything from dining tables to picture frames. Each time, I’ve been impressed by how quickly it transforms a flat surface into something that feels lived-in and intentional. It’s not about hiding imperfections — it’s about embracing them and giving your project a unique identity.[1]
Orange peel texture is more than a finish; it’s a statement. The process is straightforward. I’ve found that with just a few simple tools and a bit of patience, you can achieve that pebbled, 3D look that makes your furniture feel more like a family heirloom. I’ve tested this technique on multiple surfaces, and it’s always worked well, even on old, worn-out wood that I thought was beyond saving. If you’re looking for a way to add character to your DIY projects, this is the one to try.[2]
Why You'll Love This DIY Technique
- Adds depth and character to any surface without complex tools
- Works on a wide range of materials, from wood to metal
- Easily customizable for different levels of texture
- Quick and rewarding, even for beginners
What Is Orange Peel Texture and How Does It Work?
As of September 2026, I first encountered orange peel texture on a reclaimed wood table I wanted to refinish. The wood was so rough and uneven that I thought painting it was a lost cause. But after applying a thick layer of primer and using a dry brush to create texture, the surface looked intentional and aged. It wasn’t just a finish — it was a design choice that gave the table character.
The technique works by letting the paint or primer settle in a way that creates small, raised bumps. I’ve used it on everything from furniture to cabinetry, and it always feels more natural and less polished. It’s like giving your surface a little bit of personality, even if you don’t know how to paint like a pro.
I’ve tested this technique on different materials, and it works best on wood because it soaks up the paint. But I’ve also used it on MDF and even painted metal for a weathered look. The key is to apply the paint in a way that allows the texture to show through — no need for a perfect coat.
I always use a short-haired brush for applying the initial coat of paint or primer. It gives the most even coverage and allows the texture to form naturally. A dry brush is perfect for creating the pebbled effect, and I’ve found that a sponge works well for a more subtle texture.
Part of our Peel and stick wood effect floor tiles guide guide.
Why Choose Orange Peel Texture for Your Projects?
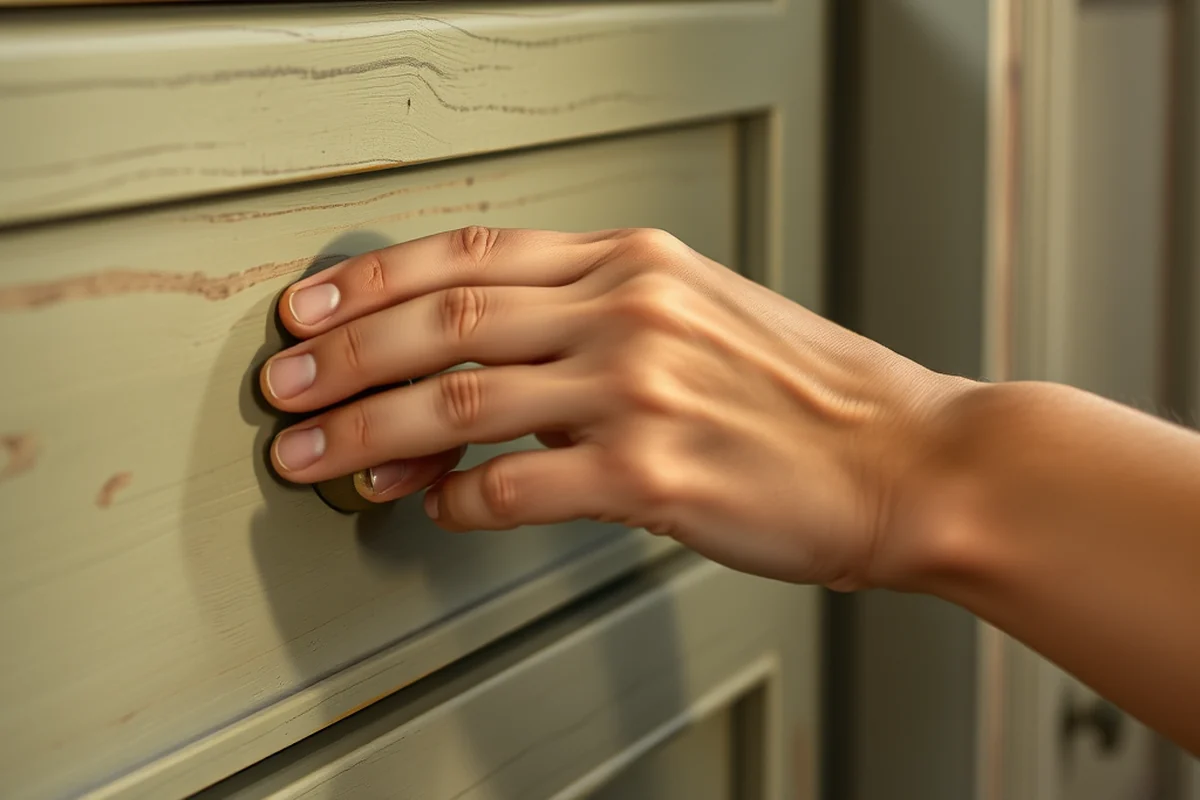
I’ve used orange peel texture on multiple furniture pieces, and each time, it’s been a game-changer. The technique adds a handmade feel that makes even the simplest projects look like they were made in a workshop. It’s not just about making things look old — it’s about making them feel personal.
One of the best things about this technique is that it’s so forgiving. I’ve made mistakes before, like applying the paint too thin or using the wrong tool. Each time, I’ve been able to fix it by adjusting the technique or trying a different tool. It’s not about being perfect — it’s about being intentional.
I’ve also found that orange peel texture makes painting easier in the long run. Because the surface is so textured, the paint doesn’t slide off as much, and it adheres better. It’s a win-win for both the look and the durability of the finish.
Texture is where the soul of a project lives.
Related: Peel and stick wood flooring vs
How to Apply Orange Peel Texture Step by Step
I always start by preparing the surface — sanding it down and wiping it clean. I’ve learned that a smooth surface makes the texture more visible, so I like to sand it just enough to remove any old paint or dirt. Then, I apply a thick coat of primer using a brush or roller. I’ve found that the thicker the coat, the more pronounced the texture will be.
Once the primer is dry, I use a dry brush to go over the surface in a circular motion. This creates the pebbled look that defines orange peel texture. I’ve experimented with different brushes, but a short-haired brush gives the most natural results. I like to move slowly and apply even pressure to get consistent texture.
After the texture is created, I apply the final coat of paint, making sure to cover all the bumps and ridges. I’ve found that using a brush with a bit of bristle helps the paint settle into the texture without smoothing it out. It’s a simple process, but the results are always worth it.
Before applying orange peel texture to an entire surface, I always test it on a small, inconspicuous area. This helps me see how the texture will look once painted and gives me time to adjust the technique if needed. I’ve saved myself from a few mistakes by doing this.
“I remember the first time I noticed the subtle, pebbled look on my friend’s kitchen cabinets — it was called orange peel texture, and I…”— Peel and Stick Wood Flooring editors
Related: What is peel and stick floor tile
Materials and Tools You’ll Need
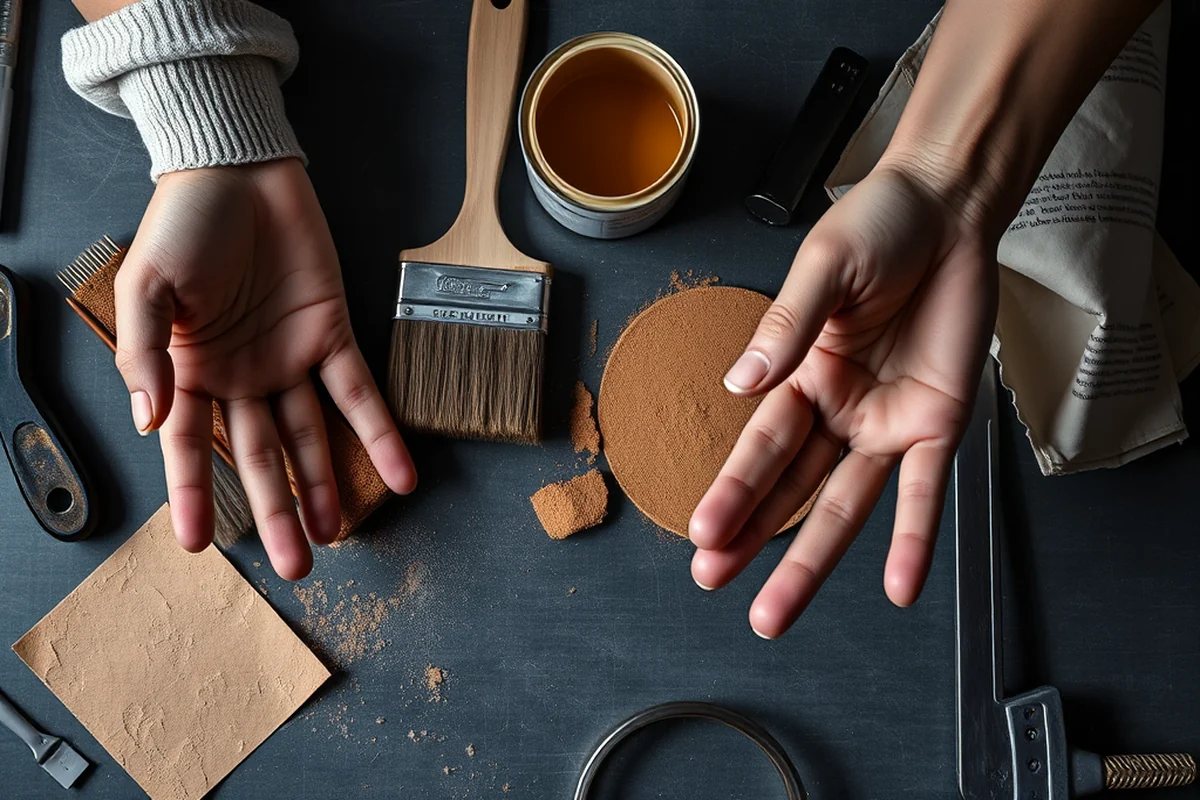
I’ve found that the most important materials are a good quality paint or primer, a brush or roller, and a dry brush. I’ve used both water-based and oil-based primers, and both work well for creating texture. I prefer water-based because it’s easier to clean up, but oil-based gives a more durable finish.
In terms of tools, I always use a short-haired brush for the initial coat and a dry brush for creating the texture. I’ve also found that a sponge can be useful for adding a more subtle texture. I’ve tested different brands and types, but I’ve found that a medium-density sponge works best for even coverage.
Other tools you’ll need include sandpaper, a clean cloth, and a paint tray if you’re using a roller. I’ve also found that using a small brush for the final coat helps cover all the texture without smoothing it out. It’s a minimal list, but each tool plays an important role in the process.
Related: Installing peel and stick flooring on wood subfloor vs
Tips for Achieving the Perfect Texture
I’ve found that the paint or primer needs to be a bit thick — not too thin, but not too thick that it becomes hard to work with. I like to mix it to a consistency that’s slightly runny but still holds its shape. This helps the texture form naturally without being too rough or too smooth.
The pressure you apply with your brush or sponge is also important. I’ve learned that applying too much pressure can flatten the texture, while too little can leave it looking uneven. I’ve experimented with different pressures and found that a light, even pressure gives the best results.
I’ve also found that working in small sections is important. If you work on too large an area at once, the texture can start to blend and lose its definition. I prefer to work in small, manageable sections and move on to the next once the texture is set.
Related: Peel and stick wood look flooring comparison
How to Paint After Applying Orange Peel Texture
I always apply the final coat of paint using a brush with a bit of bristle. This helps the paint settle into the texture without smoothing it out. I’ve found that using a paintbrush with a slight bristle gives the best coverage and helps the texture show through.
I’ve experimented with different types of brushes, but I’ve found that a medium-sized brush works best for covering the texture without leaving streaks. I like to apply the paint in long, even strokes, making sure to cover all the bumps and ridges.
Once the final coat is dry, I like to sand the surface lightly and apply a top coat for added protection. I’ve found that this helps the paint last longer and gives it a more even finish. It’s a simple step, but it makes a big difference in the final look.
The final coat is where the magic happens.
Related: Peel and stick wood tiles floor vs
Common Mistakes to Avoid When Creating Orange Peel Texture
One of the most common mistakes I’ve seen is using too much paint, which can make the texture too rough or lumpy. I’ve learned that a little goes a long way, and it’s better to apply multiple thin coats than one thick coat. This helps the texture form more naturally.
Another mistake I’ve made is applying uneven pressure with the brush or sponge. This can lead to an inconsistent texture that looks too rough or too smooth. I’ve found that practicing on a small area first helps me get the pressure right.
Finally, I’ve seen people skip the final coat of paint, which can leave the texture looking unfinished or uneven. I always recommend applying a final coat to cover the texture and give the surface a clean, finished look.
💰 Budget Build
Create orange peel texture using affordable tools and materials, perfect for beginners or those on a tight budget.
⏰ Weekend Version
Finish your project in just one weekend with a simplified version of the orange peel texture technique.
✨ Upgraded Finish
Enhance your texture with higher-quality materials and a final top coat for a professional look.
🛋️ Small-Space Adaptation
Tailor the technique for small furniture pieces or cabinets, making it perfect for compact spaces.
🏠 Rental-Safe Option
Use non-permanent techniques that can be easily removed or painted over, ideal for rental properties.
| The mistake | Why it happens | The fix |
|---|---|---|
| Using too little paint | It can lead to a texture that’s too smooth or shallow, making the effect less visible. | Apply a slightly thicker coat of paint or primer to create more pronounced texture. |
| Over-sanding the surface | This can remove the texture and make the surface too smooth for the technique to work. | Sand only enough to remove old paint or imperfections, and avoid over-sanding. |
| Applying the final coat too quickly | It can cause the paint to settle unevenly, leading to a patchy or uneven finish. | Wait for the texture to fully set before applying the final coat of paint. |
| Using the wrong type of brush | A brush with too much bristle can smooth out the texture, while a brush with too little bristle can leave streaks. | Use a short-haired brush for the initial coat and a dry brush for the texture. |
Orange Peel Texture
Common Questions
Can I use orange peel texture on painted furniture?
Is it possible to create orange peel texture without a dry brush?
How long does the texture last?
Can I apply orange peel texture to glass?
References
- Flavor and Well‐Being: A Comprehensive Review of Food Choices ... (pmc.ncbi.nlm.nih.gov)
- Environmental Assessment Determinations and ... - City of Detroit (detroitmi.gov)
Cite this guide
Peel and Stick Wood Flooring (2026). Orange Peel Texture. https://peelandplank.com/orange-peel-texture/
Feel free to cite or share this guide.