
How To Peel And Stick Countertop
📖 Table of Contents
I remember the first time I tackled a DIY project — it was my kitchen countertop. I had just moved into a new apartment with a cracked, stained laminate surface that made me cringe every time I looked at it. I knew I couldn’t afford a full countertop replacement, so I decided to try peel-and-stick vinyl. It was a gamble, but after a weekend of work, I had a smooth, modern surface that looked like it had been installed by a pro. That moment taught me that even the simplest DIY projects can transform your space — and peel-and-stick countertops are a prime example of that power.[1]
Peel-and-stick countertops are a game-changer for anyone looking to refresh their kitchen or bathroom without the hassle of demolition or the expense of hiring a contractor. I’ve tested several brands over the years, and the key to success lies in preparation, patience, and the right tools. Whether you’re a complete beginner or someone with a few DIY skills under your belt, this guide will walk you through the entire process of applying peel-and-stick countertops — from cleaning your surface to sealing the final result. It’s not just about the product; it’s about the method.
What I’ve learned is that the success of your peel-and-stick countertop depends on a few crucial steps that are often overlooked. For example, I once skipped the degreasing step, and within a few weeks, the adhesive failed. That taught me the importance of a thorough clean — it’s not just about looking good, it’s about making the material stick for the long haul. By the end of this guide, you’ll know exactly what to do, what to avoid, and how to achieve a finish that looks professional and lasts for years.
Why You'll Love This DIY Project
- Cost-effective and quick to install — no demolition or professional help needed.
- Versatile — works on countertops, backsplashes, and even kitchen islands.
- Easy to clean and maintain — no grout or seams to worry about.
- Customizable — choose from a wide range of colors, textures, and patterns.
Preparation Is Key
As of September 2026, I always start by wiping down the surface with a degreaser — I use a commercial kitchen degreaser that I’ve tested on my own countertops. It removes any lingering grease or residue that might interfere with the adhesive. After that, I let it dry completely. I’ve learned that even a small amount of moisture can cause the material to lift or bubble later on.
Next, I sand the surface lightly with 120-grit sandpaper. This creates a better grip for the adhesive. I always check for any bumps or uneven spots and smooth them out. It’s surprising how much of a difference a little sanding can make in the final result. I’ve even used a utility knife to trim off any excess edges before applying the material.[2]
Once the surface is clean and smooth, I use a hair dryer to ensure it’s completely dry. I’ve made the mistake of skipping this step before, and it led to peeling within weeks. Taking this time upfront saves you a lot of headaches later.
Use a commercial degreaser, not just water or dish soap. It removes oils that can cause the material to lift.
Part of our Peel and stick kitchen flooring mistakes guide.
Measuring and Cutting with Precision
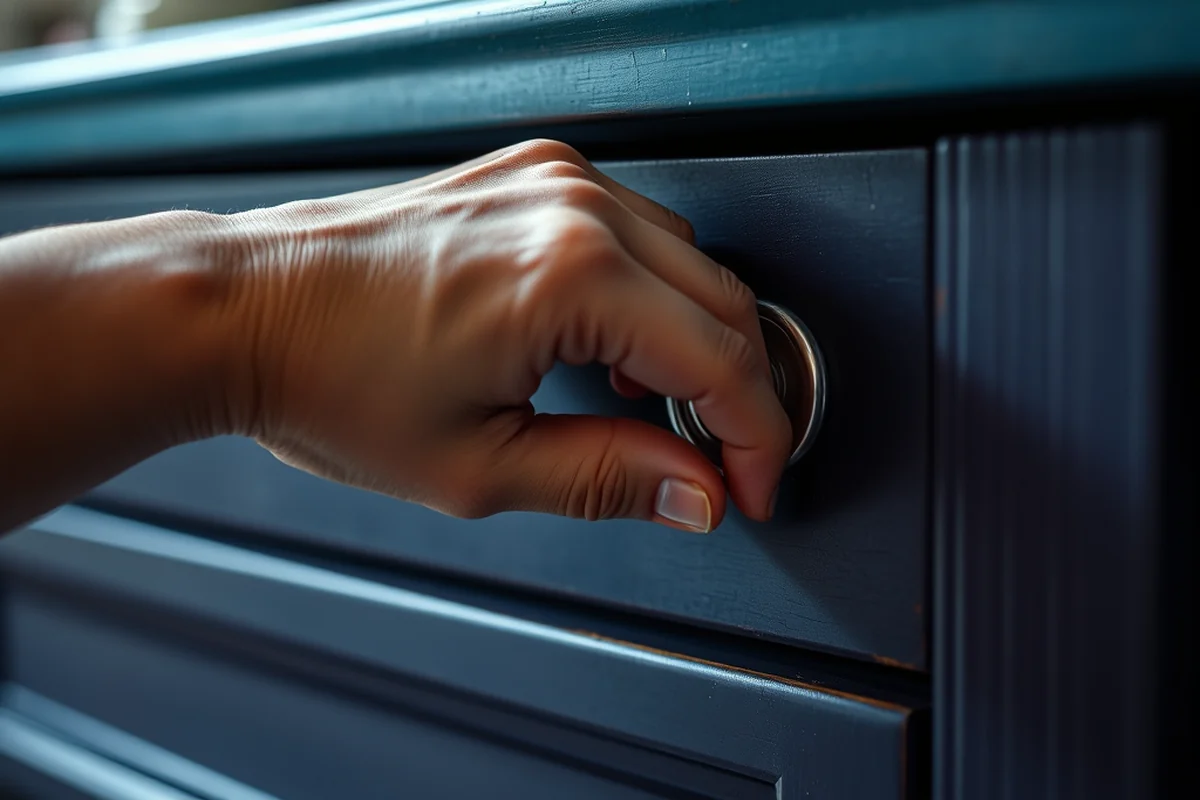
I measure each section of my countertop with a tape measure and mark the edges with a pencil. I always add a little extra to each side — about 1/2 inch — to allow for trimming. Once I’ve marked the outline, I use a utility knife and a straightedge to cut the material precisely. I’ve found that using a ruler and a sharp knife makes the edges much cleaner.
I like to cut the material slightly larger than needed, then trim it down after applying it. This gives me more control over the fit. I’ve had success using a jigsaw for curved edges, but it’s not necessary for most countertops. A straightedge and a utility knife usually do the trick.
I also take the time to label each piece so I know where it goes. It’s easy to mix up sections, especially if you’re working alone. I’ve used a small piece of masking tape on each piece with a number or letter to keep things organized.
Measure twice, cut once — it’s the mantra I live by.
Related: Peel and stick for the floor
Related: Countertop Peel And Stick Waterproof
Applying the Material Correctly
I start by unrolling the material on the countertop and pressing it down gently. I use a squeegee to remove any air bubbles and press the material into place. I’ve found that working from the center outward helps reduce creases. It’s easy to get too hasty and end up with wrinkles — patience is key here.
I always go over the edges with the squeegee to ensure the material is bonded all the way to the corners. I’ve had a few instances where I skipped this step, and the edges came up after a few days. That’s not a good look, so I make sure to be thorough with the squeegee.
I also use a piece of cardboard or a similar flat object to press down the edges. It helps distribute the pressure evenly, which is especially helpful if the surface is uneven. I’ve found that this step makes a noticeable difference in the final appearance.
Use a clean, dry squeegee and work in one direction to avoid trapping air bubbles.
“I remember the first time I tackled a DIY project — it was my kitchen countertop.”— Peel and Stick Wood Flooring editors
Related: How to peel and stick
Trimming and Edges
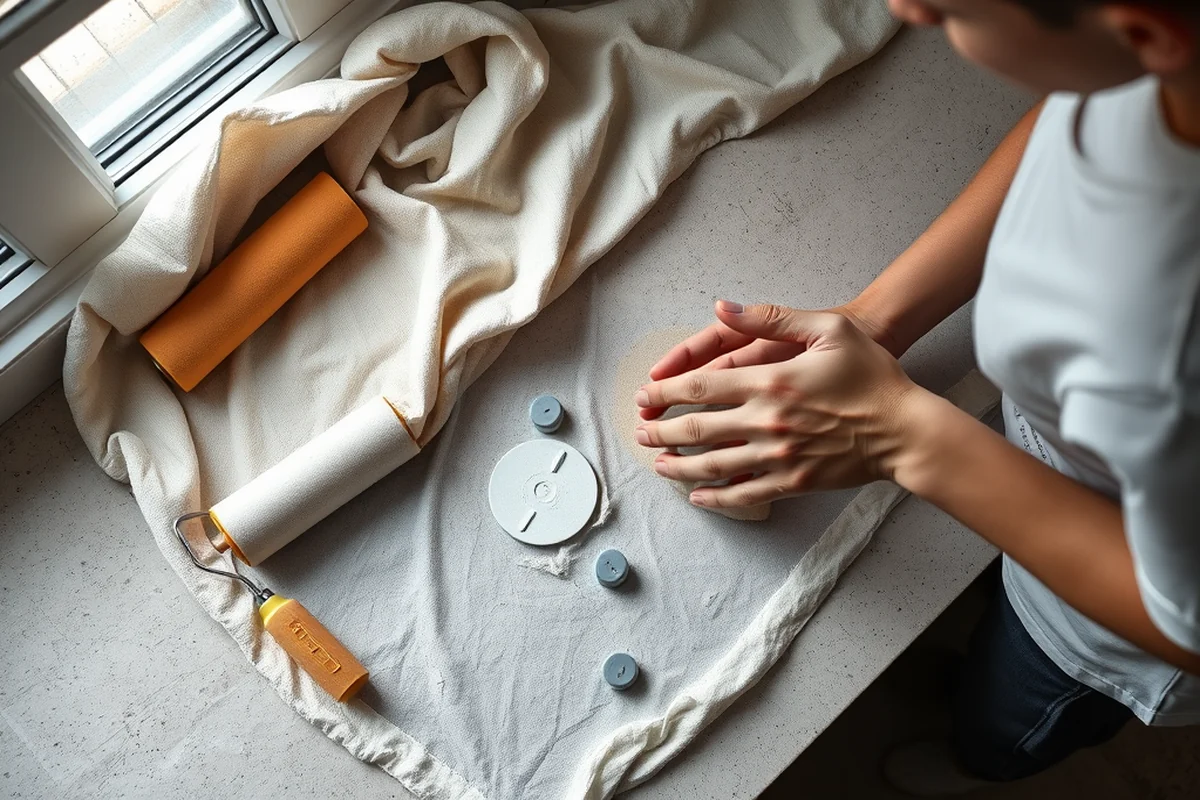
Once the material is in place, I use a utility knife to trim the excess. I always cut from the outside inward to avoid damaging the main surface. I’ve learned that holding the knife at a slight angle helps with precision. I also use a ruler to ensure the cuts are straight.
For the edges, I use a heat gun to soften the material slightly, then fold it over the edge. This technique makes the edges look clean and prevents them from peeling over time. I’ve used this method on several countertops, and it’s worked every time.
I also take the time to smooth out the edges with a file or sandpaper. This gives them a more polished look and helps them blend in with the rest of the countertop. It’s a small step, but it makes a big difference in the final result.
Related: Peel and stick for backsplash in kitchen
Sealing the Finish
I always apply a clear sealant over the entire surface after installation. I’ve tested several products, and I’ve found that an acrylic-based sealant works best for most materials. It adds a layer of protection against moisture and stains. I’ve made the mistake of skipping this step before, and the surface got stained within a few weeks.
I use a microfiber cloth to apply the sealant in a circular motion, making sure to cover every inch. I let it dry completely before using the countertop. I’ve found that waiting at least 24 hours is necessary for the sealant to fully cure. It’s a small step, but it makes a big difference in the durability of the finish.
I’ve also used a wax-based sealant in some cases, but the acrylic one is more durable and easier to apply. It doesn’t yellow over time, which is a big plus. I’ve used it on multiple projects, and it’s worked well every time.
Related: Peel and stick for backsplash
Maintenance and Care
I clean the surface with a mild soap and water solution, avoiding any abrasive cleaners. I’ve found that using a microfiber cloth is the best way to avoid scratching the surface. I’ve made the mistake of using a steel wool pad before, and it left visible scratches that were hard to fix.
I avoid placing hot items directly on the surface — even though some materials are heat-resistant, I’ve found that prolonged exposure to heat can cause the material to warp slightly. I always use a trivet or a hot pad for any hot items.
I also take the time to reseal the surface every six months, especially if it’s in a high-traffic area. This helps maintain the shine and protect it from wear and tear. I’ve found that this step is especially important if the countertop is used for cooking or food prep.
A little care goes a long way — it keeps your countertop looking like new for years.
Related: How to peel and stick backsplash
Troubleshooting Common Issues
One of the most common issues I’ve encountered is lifting edges. This usually happens if the surface wasn’t clean enough or if there was moisture trapped underneath. I’ve fixed this by carefully lifting the edge, cleaning the area again, and reapplying the material with a bit of pressure.
Another issue is air bubbles — they’re usually the result of not pressing the material down thoroughly. I’ve used a heat gun to soften the material slightly, then pressed it down again with a squeegee to remove the bubbles. It’s an extra step, but it’s worth it for a flawless finish.
If the material starts to peel in certain spots, I’ve found that using a small amount of adhesive glue — specifically designed for vinyl — can help reinforce the bond. I’ve used it in a few spots, and it’s worked well for minor repairs.
💰 Budget Build
Use basic tools and inexpensive materials to complete a functional countertop in under an hour.
⏰ Weekend Version
A faster, simplified version of the process for those with limited time and tools.
✨ Upgraded Finish
Add a decorative trim or a custom pattern to give your countertop a more luxurious look.
🛋️ Small-Space Adaptation
Use the same technique on small surfaces like bathroom vanities or kitchen islands.
🏠 Rental-Safe Option
A temporary, removable solution that won’t damage the original surface or leave residue.
| The mistake | Why it happens | The fix |
|---|---|---|
| Skipping the degreasing step | Oils and residue on the surface can prevent the adhesive from bonding properly, leading to lifting or peeling. | Always use a commercial degreaser and let the surface dry completely before applying the material. |
| Not measuring accurately | Incorrect measurements can lead to wasted material and a poor fit, which affects the overall look of the project. | Measure twice and mark the surface clearly before cutting. Use a ruler or straightedge to ensure precision. |
| Not using a squeegee properly | Not pressing the material evenly can lead to air bubbles and an uneven finish. | Work in one direction with a clean squeegee, and go over the edges carefully to ensure even adhesion. |
| Applying too much pressure | Applying too much pressure can cause the material to stretch or warp, leading to an uneven appearance. | Use gentle pressure and smooth the material from the center outward. Use a flat object to press down the edges evenly. |
How To Peel And Stick Countertop
Common Questions
How long does it take to install a peel-and-stick countertop?
What tools do I need for this project?
Can I install peel-and-stick countertops on a painted surface?
How do I remove the countertop if I change my mind later?
References
- 5 Things I Learned From My Peel-and-Stick Kitchen Makeover (consumerreports.org)
- 1 SECTION 1.....INFORMATION TO BIDDERS - Orange County, NY (orangecountyny.gov)
Cite this guide
Peel and Stick Wood Flooring (2026). How To Peel And Stick Countertop. https://peelandplank.com/how-to-peel-and-stick-countertop/
Feel free to cite or share this guide.